How to Create a LinkedIn Profile That Actually Gets Clicks
Your LinkedIn photo does 80% of the work. I'll show you exactly how to create a profile that recruiters notice, starting with the one element most guides get wrong.

I've helped scale marketing for a platform that's delivered millions of professional headshots. And here's what I've learned: most LinkedIn profile advice gets the priority order completely wrong.
Every guide tells you to craft the perfect summary. Obsess over keywords. List every skill you've ever touched. But they treat your photo as an afterthought. Just another checkbox.
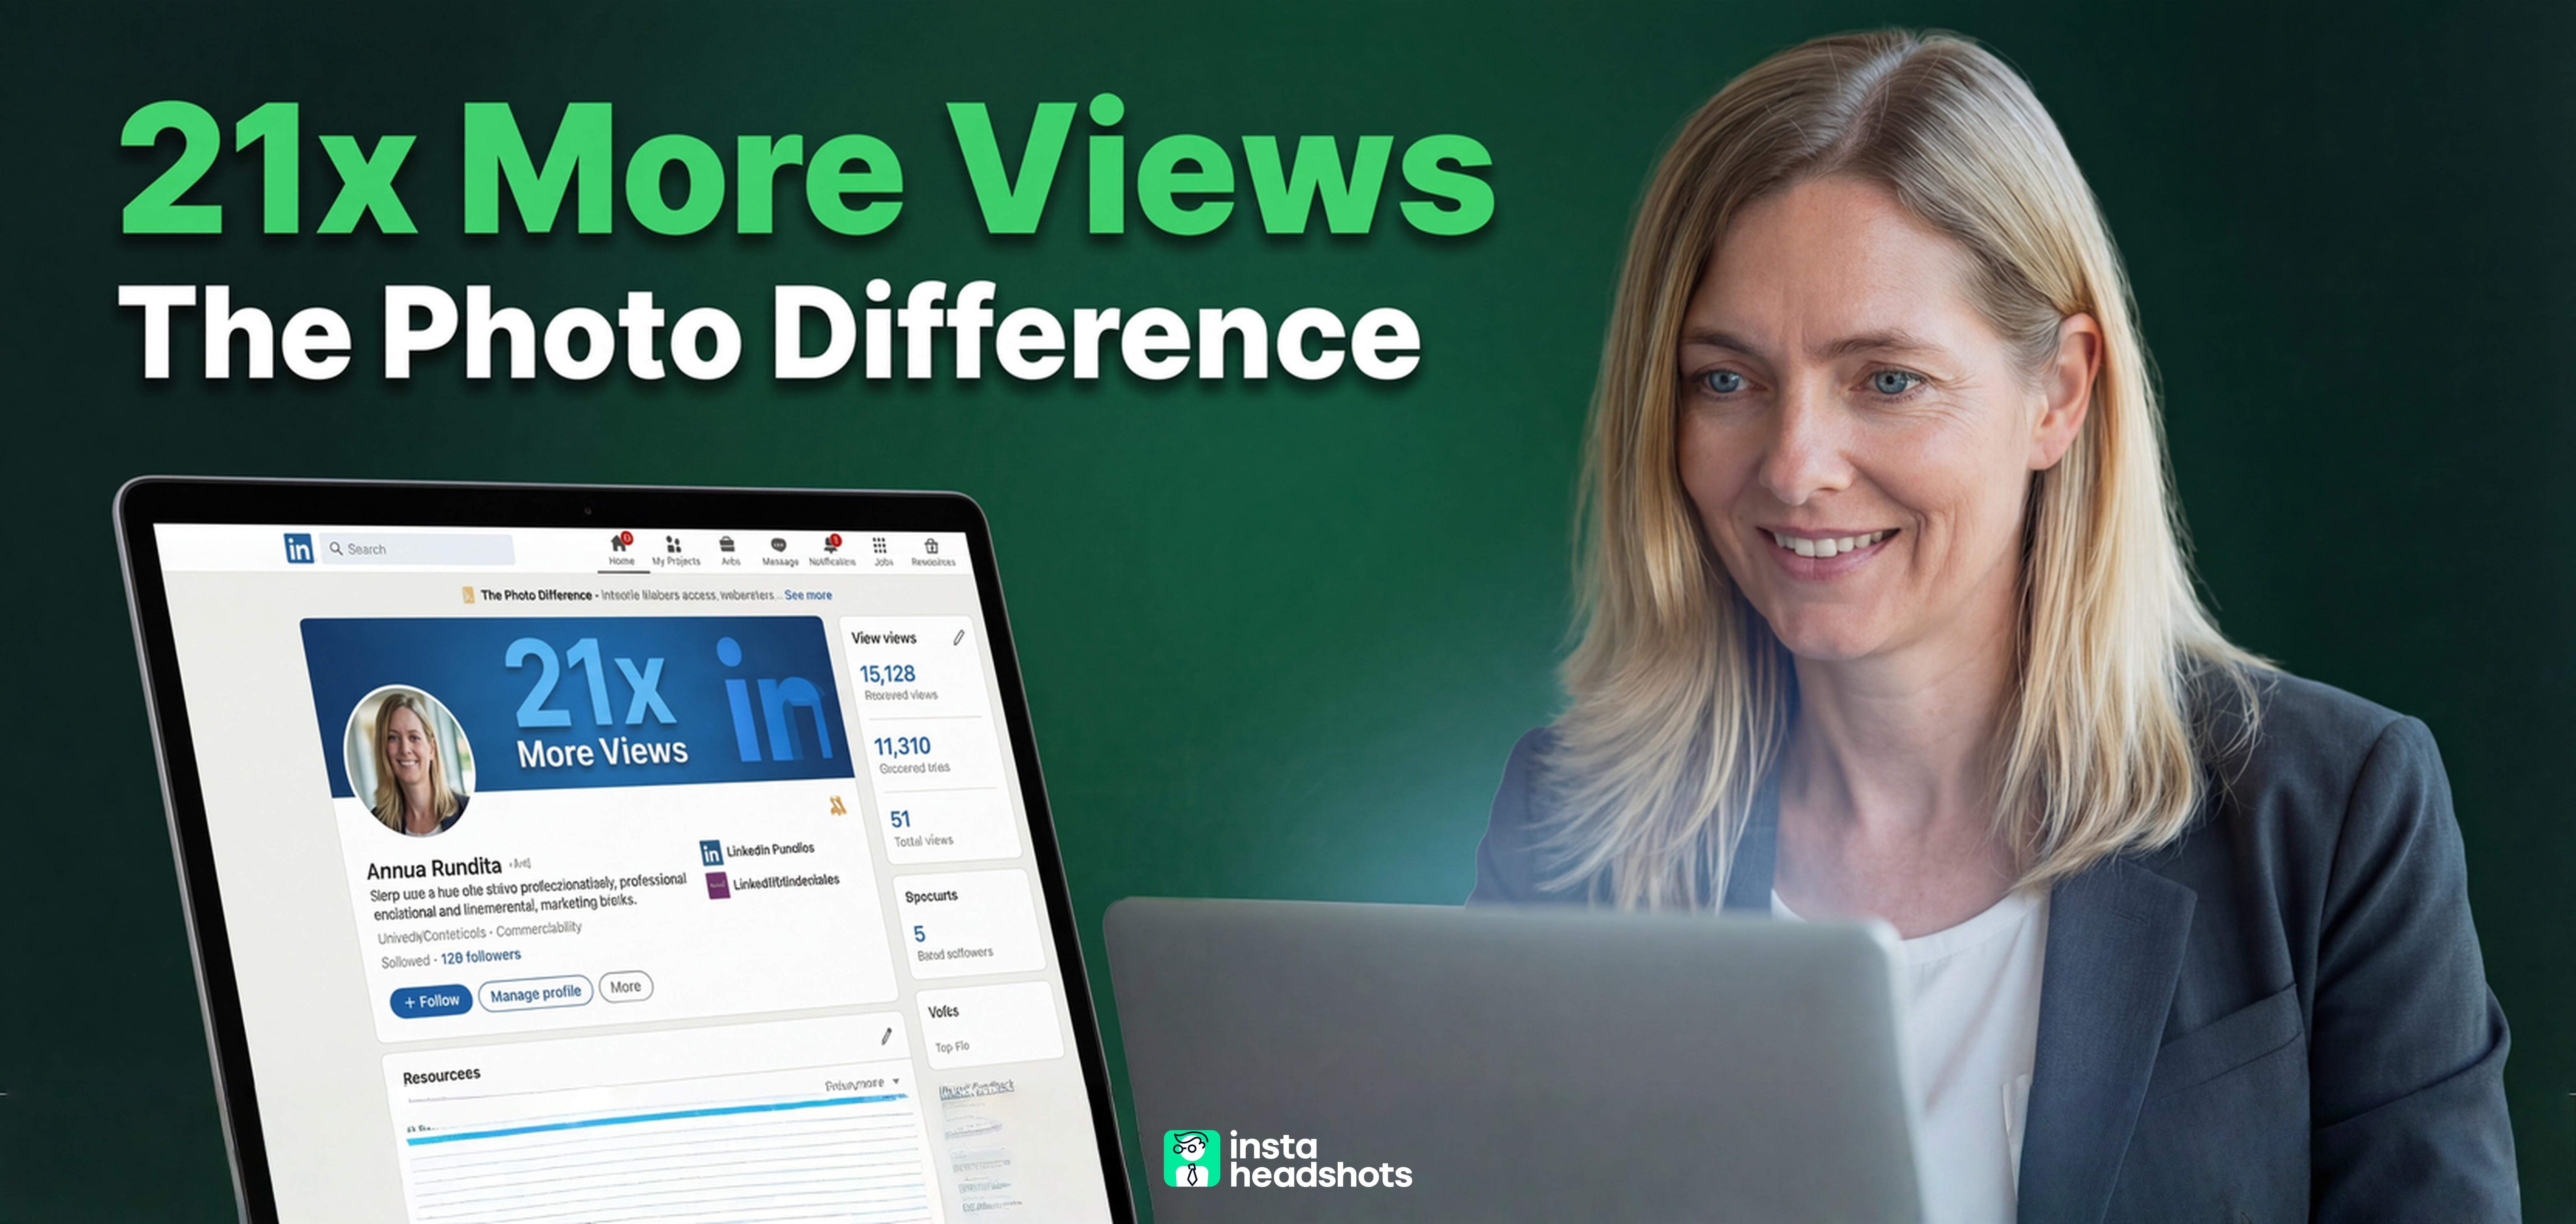
That's backwards. Profiles with photos get 21x more views. People form judgments about you in one-tenth of a second. A mediocre summary with a great photo outperforms a brilliant summary with a bad photo every time. Because the bad photo never gets clicked.
If you're creating a LinkedIn profile for the first time (or finally fixing the one you've been ignoring), I'll walk you through the five steps that actually matter. But I'm going to spend disproportionate time on the one element that drives 80% of your results.
The Hierarchy Most People Get Wrong
Here's the uncomfortable math. Recruiters spend an average of 7.4 seconds scanning a LinkedIn profile. And 76% of that attention goes to your photo and background image.
Think about that. Three-quarters of their attention. On visuals.
Yet most profile guides give your photo the same weight as customizing your URL. They're treating equal what isn't equal.
The data is clear on what a photo does for you:
- 21x more profile views
- 9x more connection requests
- 36x more messages
Those aren't small multipliers. They're the difference between being invisible and being discovered.
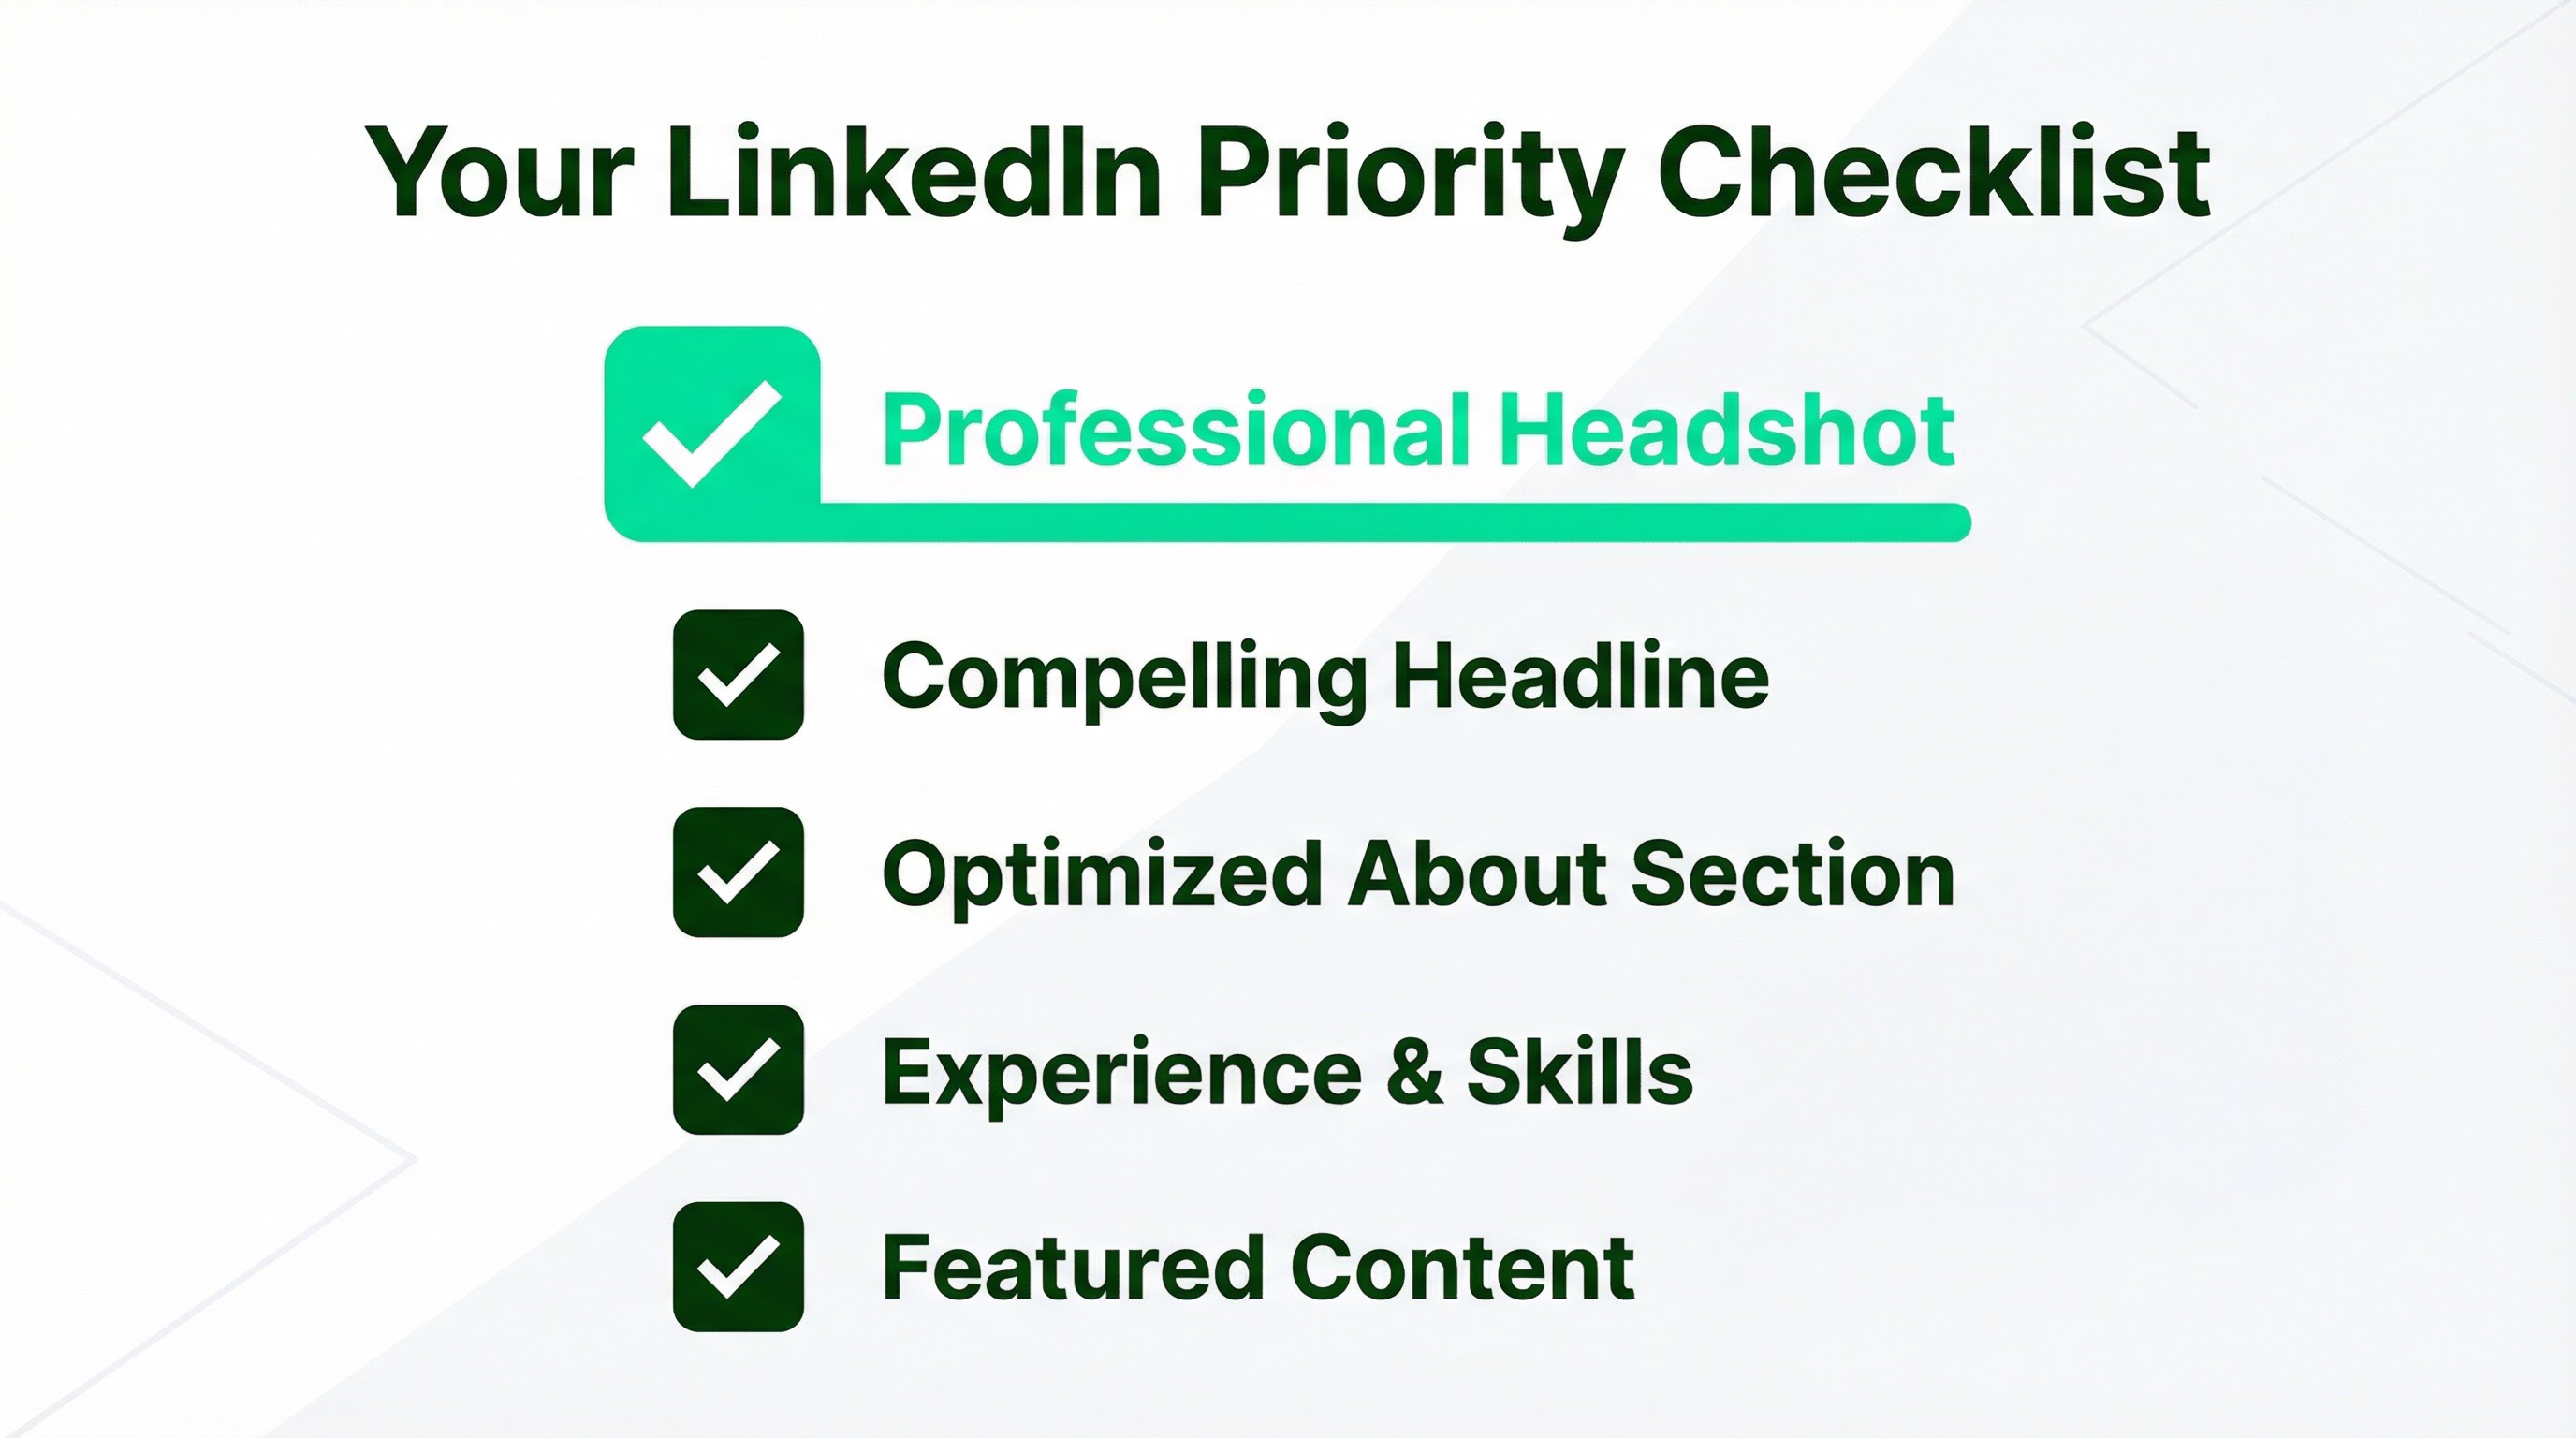
So here's the framework I use. I've weighted each step by actual ROI, not by how long the section is on LinkedIn.
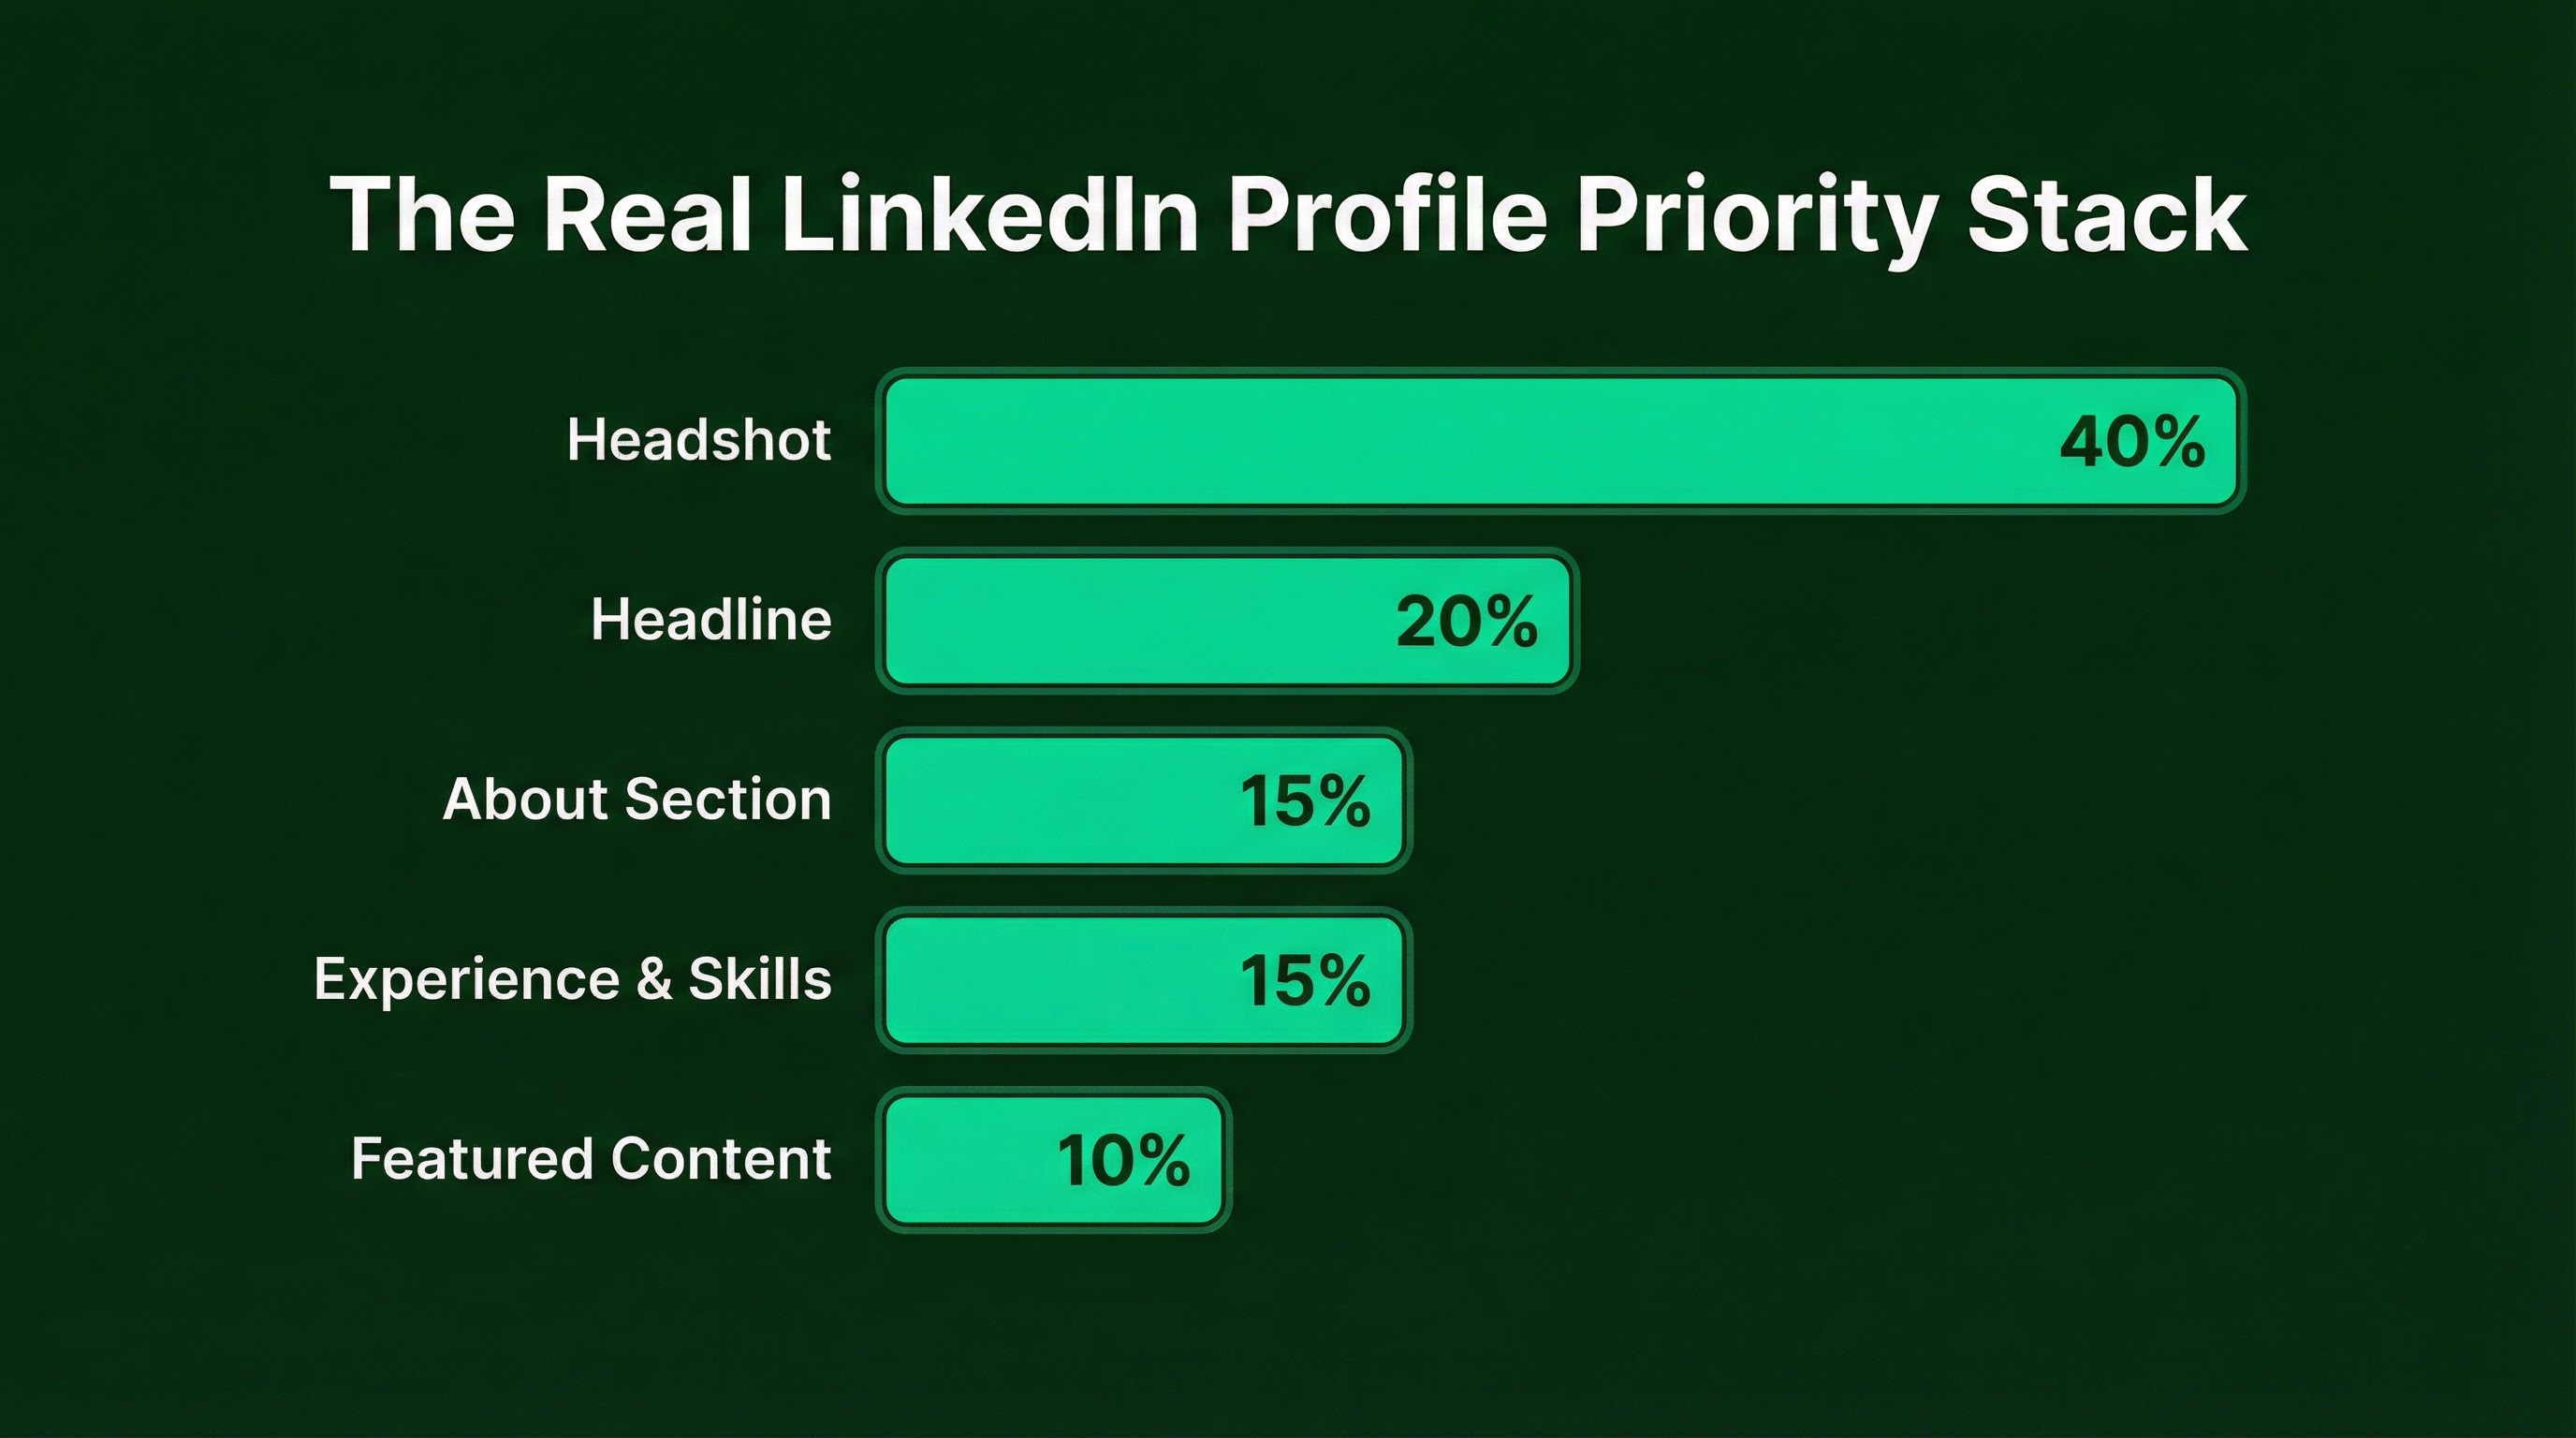
Step 1: Your Headshot (40% of Your Effort)
This is where most people fail before they start. They grab a cropped vacation photo. Or a selfie from two years ago. Or nothing at all.
Then they wonder why recruiters aren't reaching out.
Your photo is your digital handshake. It's the first thing people see in search results, connection requests, and messages. Get this wrong, and nothing else matters.
What Makes a Photo Work
I've seen thousands of headshots. The ones that perform share a few characteristics.
Lighting matters more than you think. Soft, even light makes you look competent. Harsh shadows from overhead sun or direct flash make you look amateur. Natural window light works well for DIY shots.
Clean backgrounds signal credibility. Profiles with simple backgrounds get 27% more views. A solid color or blurred setting keeps attention on your face.
Your expression drives trust. A genuine smile (the kind that reaches your eyes) increases perceived trustworthiness by 41%. A slight head tilt makes you appear more approachable.

The Technical Checklist
LinkedIn displays photos as a circle. This means your framing matters.
- Face fills 60-70% of the frame. Don't make people squint to see you.
- Eyes in the top third. This creates natural visual balance.
- Square aspect ratio. Upload at 400x400 pixels minimum. LinkedIn will crop to a circle, so keep your face centered.
- File size under 8 MB. PNG format preserves quality better than JPG.
Mistakes That Kill Credibility
I see these constantly. Each one sends the wrong signal.
| Mistake | Why It Hurts | The Fix |
|---|---|---|
| Selfie with visible arm | 63% of recruiters view this as unprofessional | Use a tripod or ask someone to help |
| Photo older than 5 years | 67% of hiring managers trust these profiles less | Update every 2-3 years |
| Busy background | Reduces views and trust | Use a plain wall or portrait mode blur |
| Harsh shadows on face | Looks amateur and unpolished | Face a window. Never have light behind you |
| Cropped from group shot | Signals you didn't care enough to get a proper photo | Take a dedicated solo shot |
Getting the Shot: Your Options in 2026
You have three paths. Each has trade-offs.
Traditional photographer: $150-$500+ depending on your market. You get coaching, professional lighting, and authentic results. Best for executives where authenticity is non-negotiable. The downside? Time, cost, and scheduling friction.
DIY approach: Free, but harder than it looks. Phone lenses distort your face. Most people can't judge their own lighting or expression. If you try this, use your phone's rear camera (better lens), face a window, and have someone else take the shot.
AI headshot services: $29-69 for dozens of options. You upload selfies, and AI generates professional-quality images. Services like InstaHeadshots can deliver 40-200 headshots in under 90 minutes. The catch? 73% of recruiters can't distinguish good AI headshots from real ones, but 66% say they'd be put off if they did recognize it as AI. So quality matters. Curate ruthlessly.
For most professionals, AI is the highest-ROI path. You get variety, speed, and results at a fraction of traditional costs. For detailed guidance on getting the shot right, I've written about what separates good headshots from bad ones.
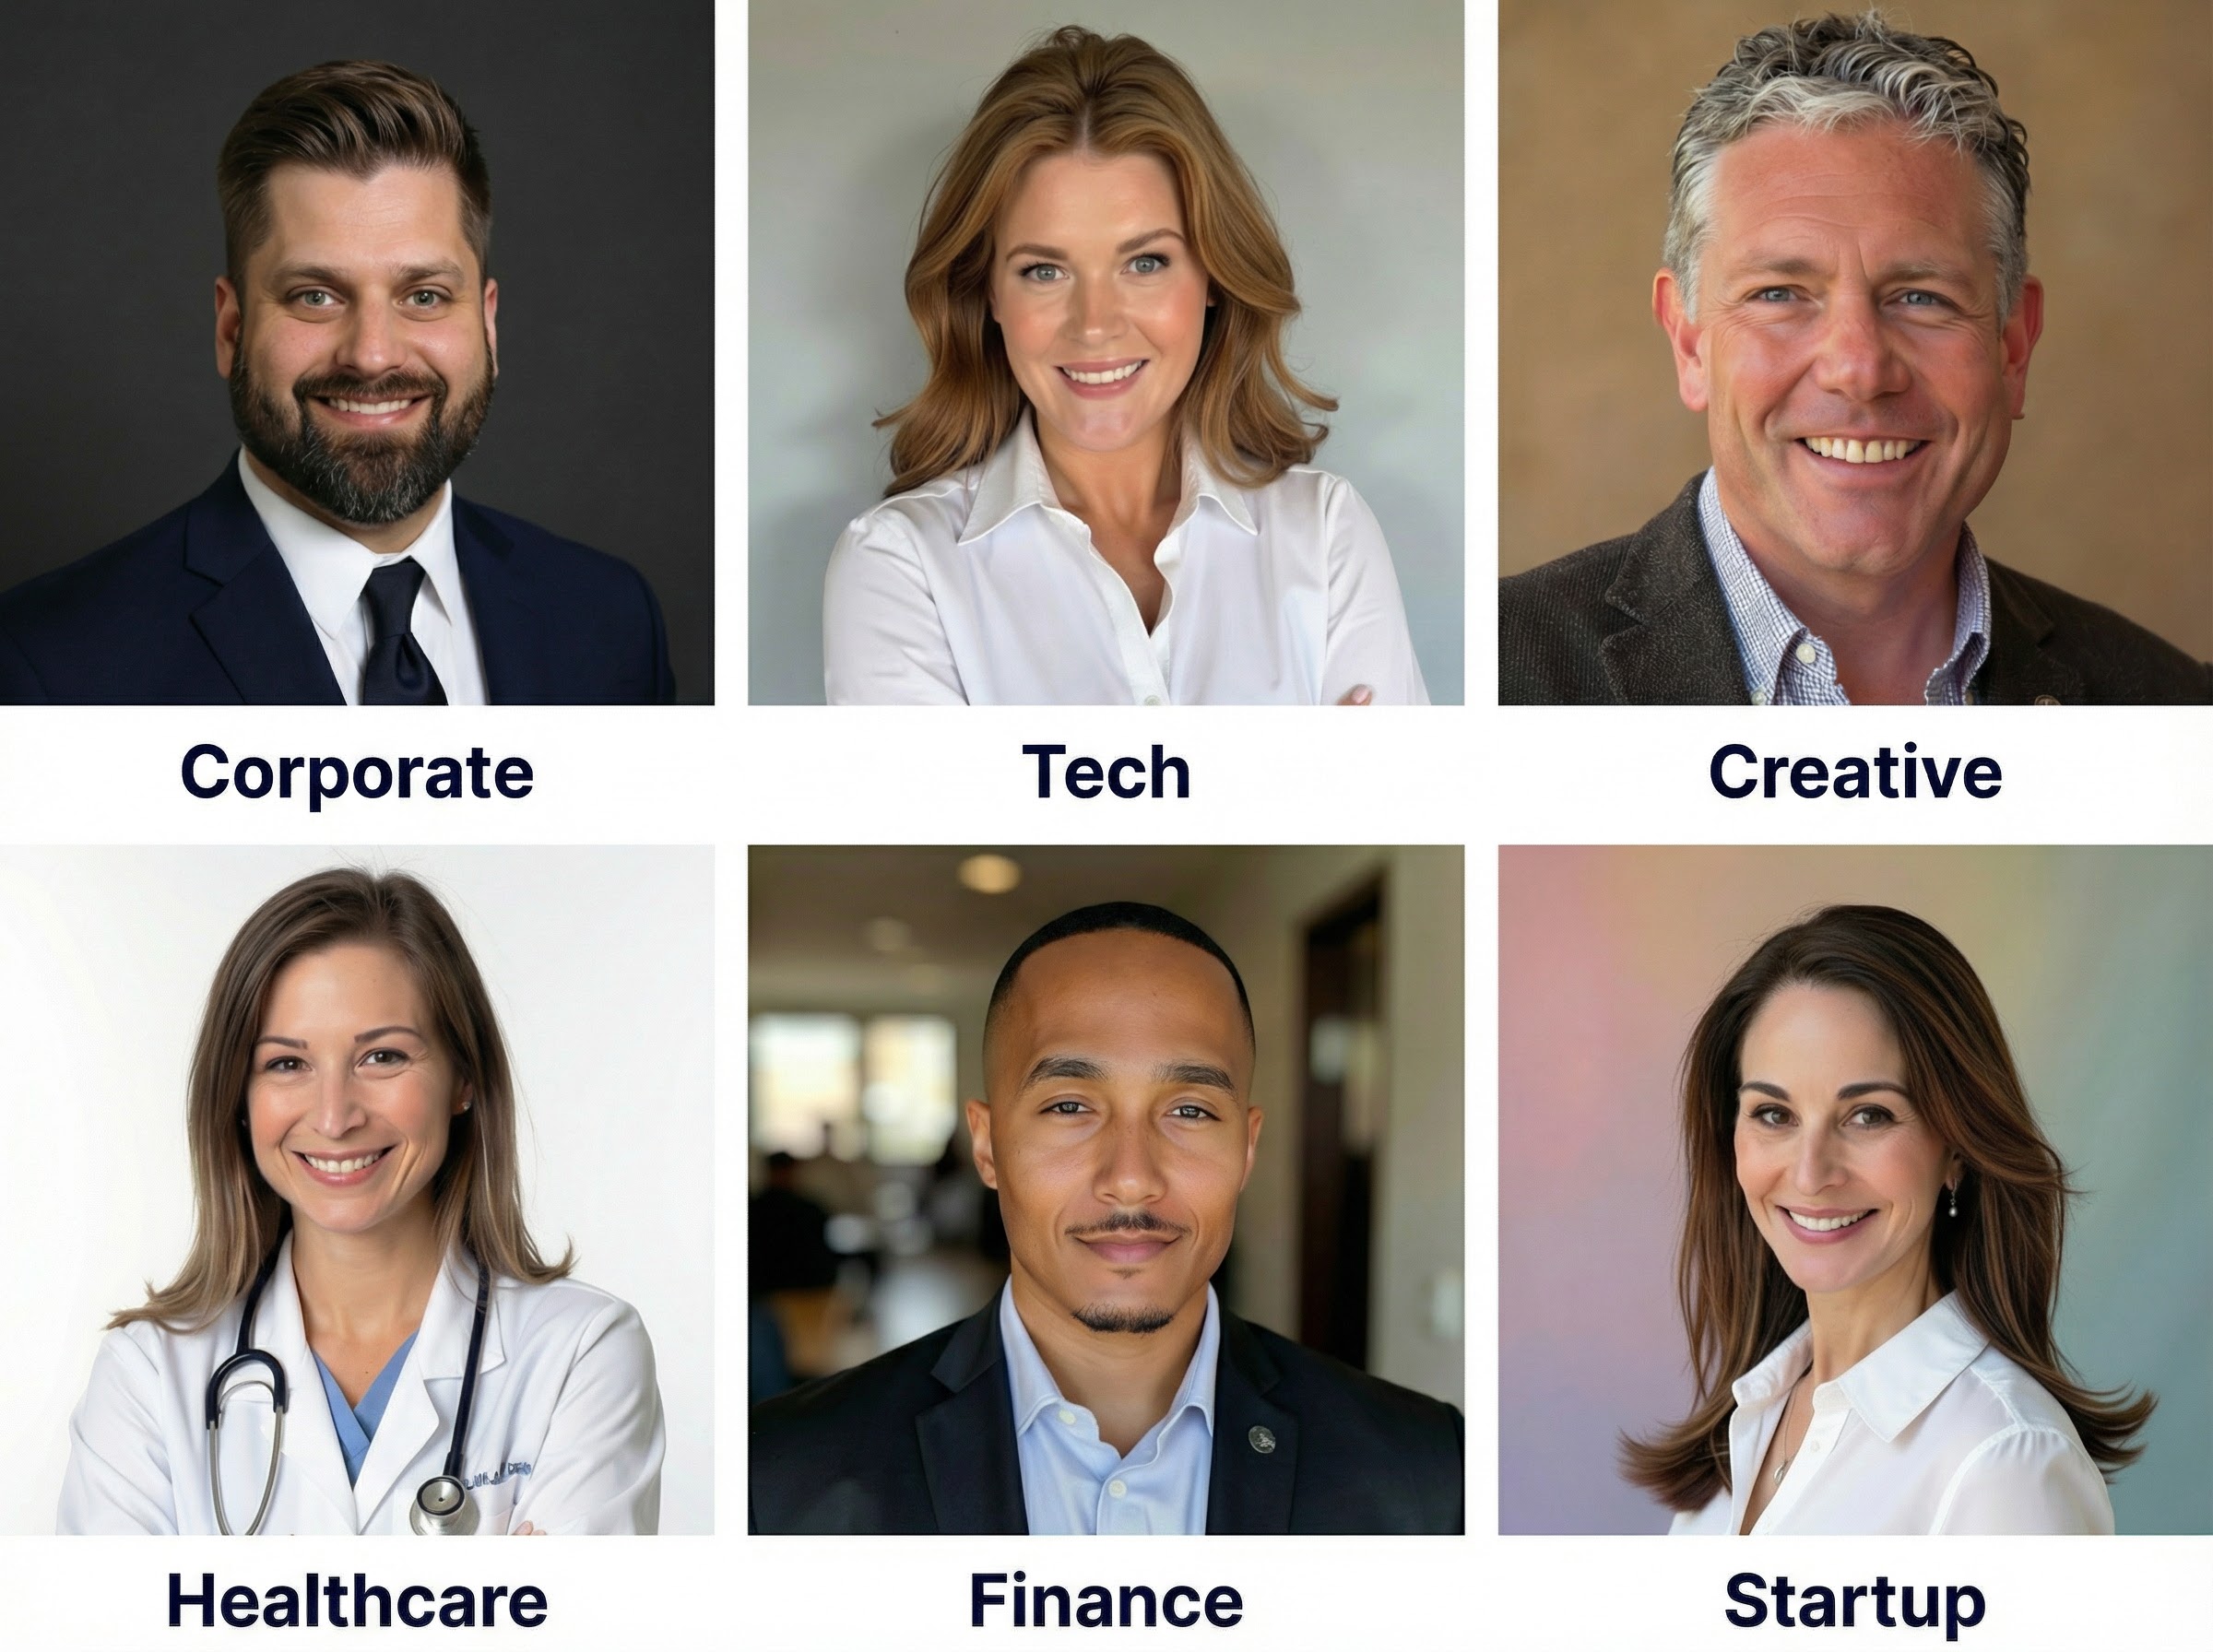
Match Your Industry
Your photo should look like you already work where you want to work. This is about cultural fit.
| Industry | Attire | Background | Vibe |
|---|---|---|---|
| Finance/Legal | Formal suit or blazer | Charcoal, navy, blurred office | Authoritative |
| Tech/Startups | Smart casual, button-down | Light gray, soft teal | Approachable |
| Creative/Marketing | Personality-driven with texture | Warm beige, sage green | Expressive |
| Healthcare | Scrubs, white coat, or business casual | Crisp white, pastel blue | Competent |
| Consulting | Polished business | Neutral or blurred city | Client-ready |
Step 2: Your Headline (20% of Your Effort)
Once your photo gets the click, your headline does the convincing. It appears in search results, connection requests, and comments. It's prime real estate.
The default is your job title. That's a missed opportunity.
Headlines carry 40-45% of LinkedIn's search weight. Optimized headlines get 5x more connection requests. But only the first 40-50 characters show in some views.
Front-load your keywords. Lead with what you do, not your title.
Weak: "Marketing Manager at Company X"
Strong: "B2B Growth Marketing | Demand Gen & SEO | Building Revenue Engines"
The second tells me what you actually do. The first tells me nothing useful.
Step 3: Your About Section (15% of Your Effort)
This is your elevator pitch. But most people write a biography instead.
Recruiters want to know what you can do for them. They're scanning for demonstrated results. Not your life story.
Keep it to 3-5 bullet points of proof. Each one should answer: "What did you do, and what happened because of it?"
Use first-person. Keep sentences short. Lead with outcomes, not responsibilities.

Step 4: Experience & Skills (15% of Your Effort)
This is where LinkedIn's algorithm finds you. Listing at least 5 relevant skills increases discovery by 31x. That's not a typo.
For experience, focus on achievements, not job descriptions. Anyone can copy-paste their job posting. What did you actually accomplish?
Hit the "All-Star" profile criteria: current position, two past positions, education, and 5+ skills. LinkedIn's algorithm rewards complete profiles.
Step 5: Featured & Activity (10% of Your Effort)
This is your social proof layer. Pin your best work: articles, posts, presentations, or external features.
If you haven't created content yet, don't stress. This is the lowest priority step. Get the first four right first.
3-5 pinned items is plenty. Quality over quantity. For more on maximizing your profile's full potential, check out my complete guide on taking a professional headshot.
The ROI Math Nobody Talks About
Let me break down the economics.
A bad headshot isn't just ineffective. It's actively costing you opportunities. 88% of business owners may dismiss a profile entirely if the photo is missing or unprofessional.
Meanwhile, professional headshots generate 14x more views than amateur photos. That's the difference between being found and being filtered out.
The math is simple. A $29-69 AI headshot service costs less than a nice dinner. Traditional photography runs $150-500. Either way, it's probably the highest-ROI investment you can make in your professional presence.

What to Do Right Now
If you're creating a LinkedIn profile or fixing an existing one, here's your action plan:
This week:
1. Look at your current photo. Does it pass the "squint test" on mobile? Is it less than 3 years old? If not, it needs to go.
2. Get a new headshot. AI services take 15-90 minutes. Traditional shoots require scheduling but deliver coaching and authenticity.
3. Update your headline to lead with what you do, not your title.
Next week:
4. Rewrite your About section as 3-5 bullet points of proof.
5. Add 5+ relevant skills and ensure your experience includes measurable achievements.
The following week:
6. Pin 3-5 pieces of your best work to Featured.
7. Check how your profile looks on mobile. That's where 25% of visits happen.
The Bottom Line
Most people spend hours on their summary and seconds on their photo. That's exactly backwards.
Your LinkedIn headshot does 80% of the work in getting people to engage with your profile. It's not vanity. It's physics. Humans process faces in 100 milliseconds. Your summary doesn't stand a chance if your photo already lost them.
Get your headshot right first. Make it current, professional, and industry-appropriate. Then worry about everything else.
Constraints create clarity. And the constraint here is simple: one image determines whether anyone reads the rest. Make it count.