Product Photography Lighting: Unlock the Secrets to Stunning Images
Illuminate your products to perfection with our product photography lighting guide. Master tools, techniques, and secrets to make your products shine.

Introduction
In the expansive universe of photography, there's a niche that demands meticulous attention to detail: product photography.
It's not just about capturing an object; it's about presenting it in a manner that appeals to viewers, making them want to engage with, and ultimately purchase, the product.
Among the various elements that play a pivotal role in creating a captivating product photograph, lighting emerges as one of the most crucial. The luminance, angle, and type of light can entirely transform how a product is perceived, making it either a captivating centerpiece or a lackluster image.
But what makes lighting so essential in photography? Why can't one rely solely on the inherent features of the product or the prowess of post-production editing tools? The answer lies in the interplay of shadows, highlights, and the nuances of color—elements that are all governed by lighting.
For those who are venturing into this domain for the first time or are looking to refine their techniques, it's imperative to have a foundational understanding. Our Ultimate Guide to Product Photography serves as an exhaustive resource, shedding light (pun intended) on the intricate details of this art form. As we delve deeper into the world of lighting in this guide, remember that lighting isn’t just about illumination; it's about storytelling, and every product has its own tale to tell.
The Importance of Lighting in Product Photography
In the captivating realm of photography, light is the magic wand that transforms ordinary into extraordinary. But why is lighting paramount? Let's break it down visually and comprehensively:
Key Aspects of Lighting in Product Photography
| Aspect | Importance |
|---|---|
| Detail Enhancement | * Ensures every texture, curve, and color is visible. |
| * Reveals the unique features of a product, enhancing its appeal. | |
| Mood Creation | * Lighting can evoke emotions, from luxury to comfort. |
| * Soft lighting for calmness; harsh lighting to highlight rugged features. | |
| Depth & Dimension | * Gives products a 3D feel, making them pop from the background. |
| * Shadows and highlights define form and structure. | |
| Consistency | * For product lines, uniform lighting ensures a cohesive brand image. |
| * Enables comparison between products for consumers. |
Quick Lighting facts:
- Versatility: A change in lighting can turn a casual product into a premium item, or vice versa.
- Consumer Perception: Proper lighting increases the perceived value and quality of a product.
- Branding: Companies often have signature lighting styles, making their products instantly recognizable.
- Reduced Dependence on Editing: With correct lighting, there's less need for post-production touch-ups, saving time and resources on the timesheet.
In a nutshell, lighting in photography isn't just about making a product visible; it's about presenting it in its best possible light, literally and figuratively. While the physical attributes of a product remain constant, lighting has the unique power to change its story, mood, and appeal.
Types of Lighting for Product Photography
The art of product photography requires mastering the intricacies of lighting. Understanding various types of lighting is essential to portray products in diverse and captivating ways.
Let's dive deep into the primary lighting types, presented in an engaging format for a clearer grasp:
| Studio Lighting Type | Key Features |
|---|---|
| LED Lights |
|
| Fluorescent Lights |
|
| Tungsten Lights |
|
| Strobe and Flash Lights |
|
The Interplay of Hard and Soft Lighting
| Lighting Type | Key Features |
|---|---|
| Hard Lighting |
|
| Soft Lighting |
|
In conclusion, choosing the right type of lighting for product photography is akin to selecting the right paint for a canvas. Each lighting type provides a unique aura, mood, and feel to the product. By understanding the strengths and nuances of each, photographers can effectively tailor their approach, ensuring the product is showcased in the best light, resonating with its intended audience. Whether you're harnessing the golden hues of the setting sun or manipulating sophisticated studio setups, lighting remains the cornerstone of compelling product imagery.
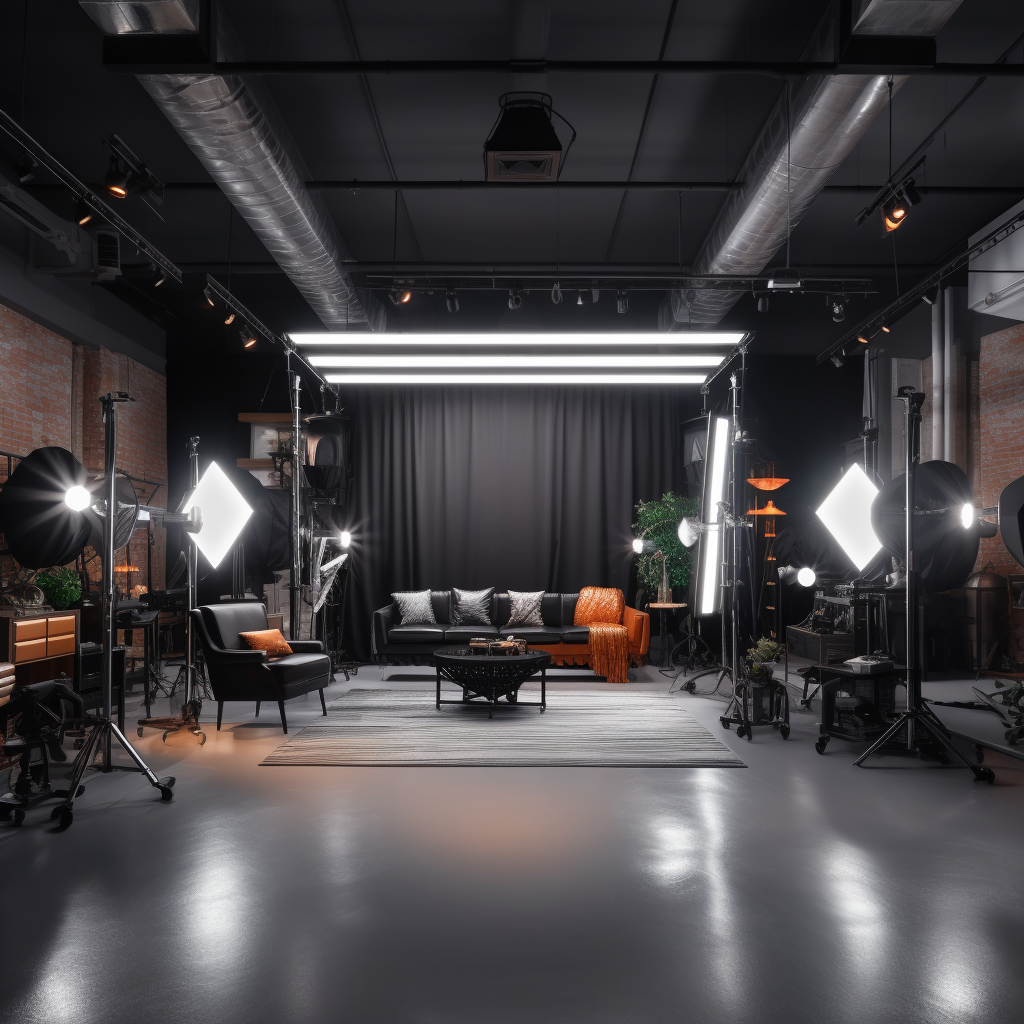
Essential Lighting Equipment and Tools for Product Photography
In photography, while technique and vision are paramount, the tools and equipment used to implement these visions are equally vital. Lighting equipment can profoundly impact the final image. Let's delve into the essentials, structured visually to aid understanding.
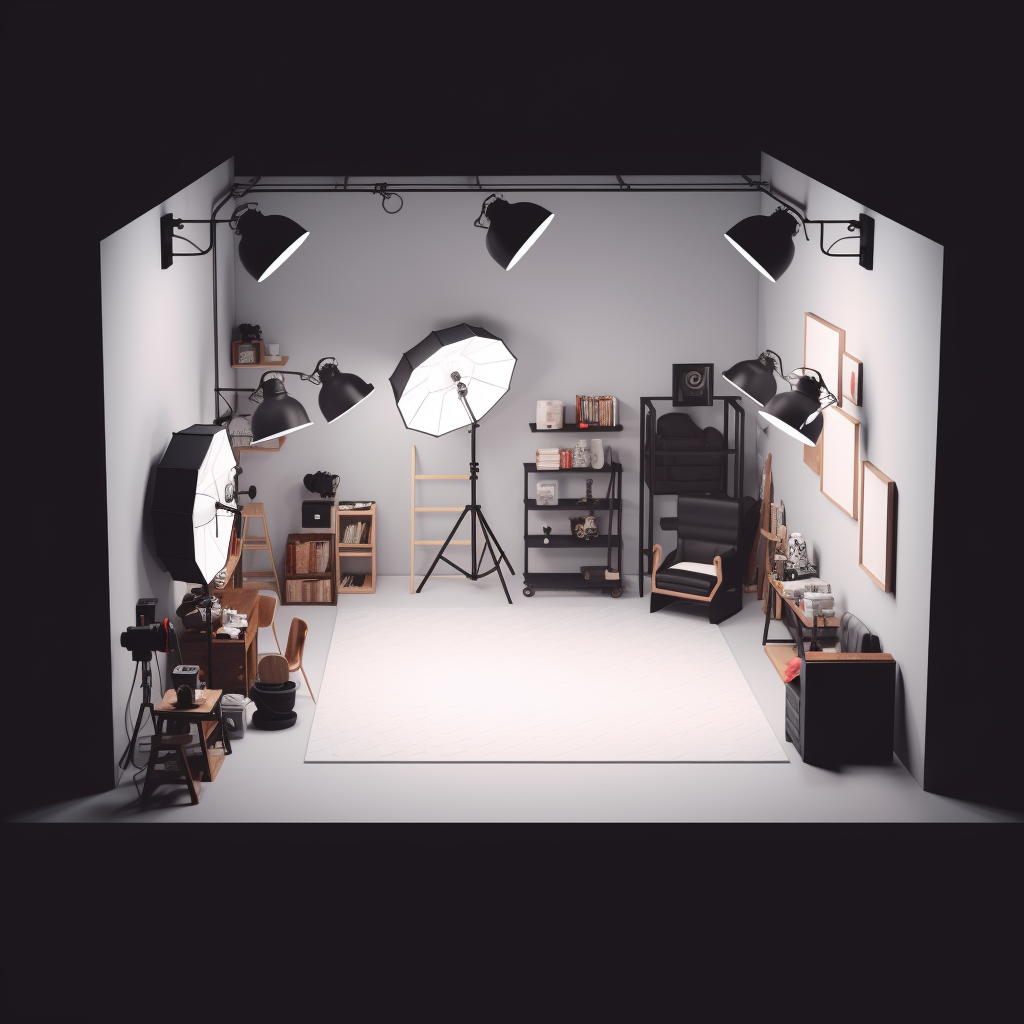
Must-have Equipment and Their Functions
| Equipment | Purpose & Use |
|---|---|
| Softboxes | Envelopes the product in a gentle light, reducing hard shadows. Ideal for products needing a softer touch. |
| Umbrellas | Scatters light broadly, useful for larger products or when a softer effect than softboxes is desired. |
| Reflectors | Bounces and directs light to desired areas, filling in shadows and enhancing product details. |
| Backdrops | Provides a clean, distraction-free background, emphasizing the product. |
| Light Meters | Measures light intensity, ensuring the desired amount of light hits the product for consistency. |
| Grids & Snoots | Focuses light on specific areas, perfect for highlighting particular product features. |
Additional Handy Tools
| Studio Equipment | Key Features |
|---|---|
| Gels |
|
| Diffusers |
|
| Barn Doors |
|
| Boom Arms |
|
| Light Stands |
|
Importance of Quality Equipment
Investing in quality lighting equipment is crucial. Not only does it ensure durability and longevity, but superior tools often provide better, more consistent results. For instance, a high-quality softbox will offer even light distribution, ensuring there are no unexpected bright spots or shadows. Similarly, a sturdy light stand ensures that your lighting setup remains stable throughout the shoot, safeguarding both your product and equipment.
To wrap up, while natural talent and skill are irreplaceable, the right AI tools in the hands of a photographer can elevate a product image to new heights.
For those keen on mastering this art, our article on Mastering Product Photography: Types, Equipment, and Advanced Techniques provides invaluable insights. Whether you're a novice looking to set up your first studio or a seasoned professional seeking to upgrade, understanding and investing in essential lighting equipment is pivotal to achieving perfection in product photography.
Lighting Techniques in Product Photography
Product photography is as much about the technique as it is about equipment. Lighting techniques define how a product is presented and perceived. From the drama of hard shadows to the delicate aura of diffused lighting, each technique tells a distinct story. Let's explore these techniques in an engaging, visual manner.
Primary Lighting Techniques and Their Impact
| Technique | Description & Use |
|---|---|
| Three-Point Lighting | A classic setup involving three lights: key light (main), fill light (supports key), and backlight (creates depth). Provides well-balanced, professional-looking images. |
| Side Lighting | Light comes from one side. Highlights textures and showcases depth. Ideal for products with intricate details. |
| Backlighting | Light from behind the product, often creating a silhouette or halo effect. Emphasizes contours and shapes. |
| Diffused Lighting | Soft, even lighting achieved using diffusers. Minimizes shadows and reflections, ideal for glossy products. |
| Butterfly Lighting | Light placed directly in front of the product, creating a 'butterfly' shadow beneath. Gives products a glamorous feel. |
Key Tips for Each Technique
| Lighting Technique | Key Features |
|---|---|
| Three-Point Lighting |
|
| Side Lighting |
|
| Backlighting |
|
| Diffused Lighting |
|
| Butterfly Lighting |
|
Techniques in Practice
When selecting a technique, the product type and desired mood play pivotal roles. For instance, if photographing a rugged hiking boot, side lighting would emphasize its texture and sturdiness. Meanwhile, a perfume bottle, with its translucent and reflective qualities, would shimmer under backlighting.
It’s also worth noting that combining techniques can yield fantastic results. A mix of diffused and side lighting can provide the gentleness of soft light while highlighting the texture, making it a versatile approach for diverse products.
In essence, mastering lighting techniques in photography is akin to a storytelling. While the basic ingredients (or equipment) play their role, it's the technique that brings out the magic. Whether you're showcasing the elegant curves of a vintage car or the intricate patterns of a handwoven fabric, the right lighting technique can make all the difference. It's the tool that transforms an image from 'good' to 'exceptional'.
Tips and Tricks for Perfect Product Photography Lighting
Mastering lighting goes beyond understanding basic techniques and tools. The little secrets—the tips and tricks garnered from seasoned professionals—can elevate your shots to new heights. Here's a compilation of some golden nuggets of wisdom, presented engagingly:
Quick Fixes for Common Lighting Challenges
| Challenge | Solution |
|---|---|
| Overexposure | Use a diffuser or reduce the light source's power/intensity. Alternatively, move the light source further away. |
| Harsh Shadows | Introduce a fill light or use reflectors to bounce light back onto the product. |
| Uneven Lighting | Ensure all bulbs have the same color temperature or try using a larger diffuser. |
| Reflective Surfaces | Angle your lights differently or use a polarizing filter to minimize reflections. |
| Dull Colors | Opt for lights with a high Color Rendering Index (CRI) for truer color representation. |
Pro Tips for Stellar Lighting
| Photography Tips | Key Points |
|---|---|
| Experiment with Angles |
|
| White Balance is Key |
|
| Know When to Go Natural |
|
| Use Flags and Gobos |
|
| Consistency Across Shots |
|
Never Stop Learning
The realm of lighting in product photography is vast and ever-evolving. Attending workshops, studying the works of seasoned professionals, and being a part of photography communities can offer fresh perspectives and innovative tricks to keep in your arsenal. Moreover, with the rapid evolution of tech, new tools constantly emerge, offering unique lighting solutions. Always be on the lookout for ways to enhance your product images, especially if they are for online platforms.
In a nutshell, while understanding the foundations of lighting is crucial, it's the little tricks of the trade that distinguish an average shot from an awe-inspiring one. Embrace the learning curve, stay curious, and remember: even the most experienced photographers sometimes discover something new under the sun—or the studio light!
Conclusion
In the vibrant world of photography, lighting serves as the paintbrush that colors the canvas of our images.
It possesses the power to highlight, to hide, to embellish, and to narrate a story that words often can't. From mastering different types of lighting to choosing the right equipment and learning varied techniques, every step in this journey carves the path towards becoming a better product photographer.
Remember, the learning never stops. As we have explored, even the smallest tips and tricks can lead to a noticeable improvement in your shots.
Keep experimenting, stay curious, and watch as every light and shadow breathed into your work tells a captivating tale of your product.