Mastering Product Photography: Your Ultimate How-To Guide
Dive into our detailed guide to Product Photography. Master techniques and excel in eCommerce photography. Read on learn more!

In the dynamic realm of e-commerce, the power of product photography cannot be understated. We welcome you to "Mastering Product Photography: Your Ultimate How-To Guide," a haven of expert insights and transformative knowledge. Delve deep with us as we unravel the intricacies of capturing products in their finest light, and embark on a journey to elevate your skills from novice to maestro. Whether you aspire to dazzle your audience with compelling visuals or envisage carving a niche in the product photography business, this guide is your gateway to achieving mastery. So, grab your camera, and let's craft visuals that not only tell a story but sell a vision.
The Advent of Visual Commerce: The Rise and Role of Product Photography
Hold onto your seats, dear reader, because we are about to venture into the bustling, vibrant streets of the visual marketplace! Let’s dissect why visuals, lifestyle photos, specifically product photography, have come to play a lead role on this bustling stage.
The Modern Consumer's Affinity for Visuals
Before we dive in, picture this: you’re scrolling through your favorite online store, and a picture captures your heart before the product details do. This isn't a mere coincidence; it's the magic of visual allure. Let’s explore how this allure has a magnetic influence on your buying decisions and how it's reshaping brand narratives.
How Imagery Influences Buying Decisions
Imagine having a superpower that can instantly persuade someone to feel a connection, to sense the texture and quality, and to visualize a product in their lives. Well, it's not a superpower, it's the art of product photography!
Quick Insights:
- Emotional Connection: Quality images can evoke a deeper emotional connection, making the product almost irresistible.
- Information Transmission: Did you know? Our brain processes visuals 60,000 times faster than text! A well-crafted image can convey a wealth of information in a blink of an eye.
Visual Storytelling: Building a Brand Narrative through Photos
Your product photos are not just images; they are the storytellers of your brand, spinning tales that resonate with your audience.
Quick Insights:
- Crafting Personality: Through imagery, you can craft a unique personality for your brand, making it stand out in the crowded market.
- Building Trust: Consistent and authentic visuals can build a layer of trust with your audience.
The Transformative Power of Quality Product Photography
Now, let’s unfold the incredible journey of how quality product photography can literally transform the user experience and give a significant boost to conversion rates.
Enhancing User Experience
Step right into the realm where each product photograph enhances the user journey, offering a smooth and delightful shopping experience.
Quick Insights:
- Navigation Ease: Clear, high-quality photos can make navigation a breeze, helping users to easily find what they are looking for.
- Virtual Touch and Feel: Offering close-up shots can almost replicate the touch-and-feel experience, a vital aspect in the online shopping world.
Boosting Conversion Rates
Guess what's the secret sauce to skyrocketing your conversion rates? You got it! It's stellar product photography.
Quick Insights:
- Reducing Cart Abandonments: A study revealed that clear and attractive product images can significantly reduce cart abandonment rates.
- Increasing Social Shares: Products with captivating images are more likely to be shared on social platforms, creating a buzz and attracting more customers.
There you have it, a vivid journey through the vibrant lanes of visual commerce where product photography reigns supreme. So, next time you find yourself entranced by a product image, remember, there's a world of strategy and artistry behind that magnetic pull. Dive deep, explore, and who knows, you might find yourself mastering the art of visual allure!
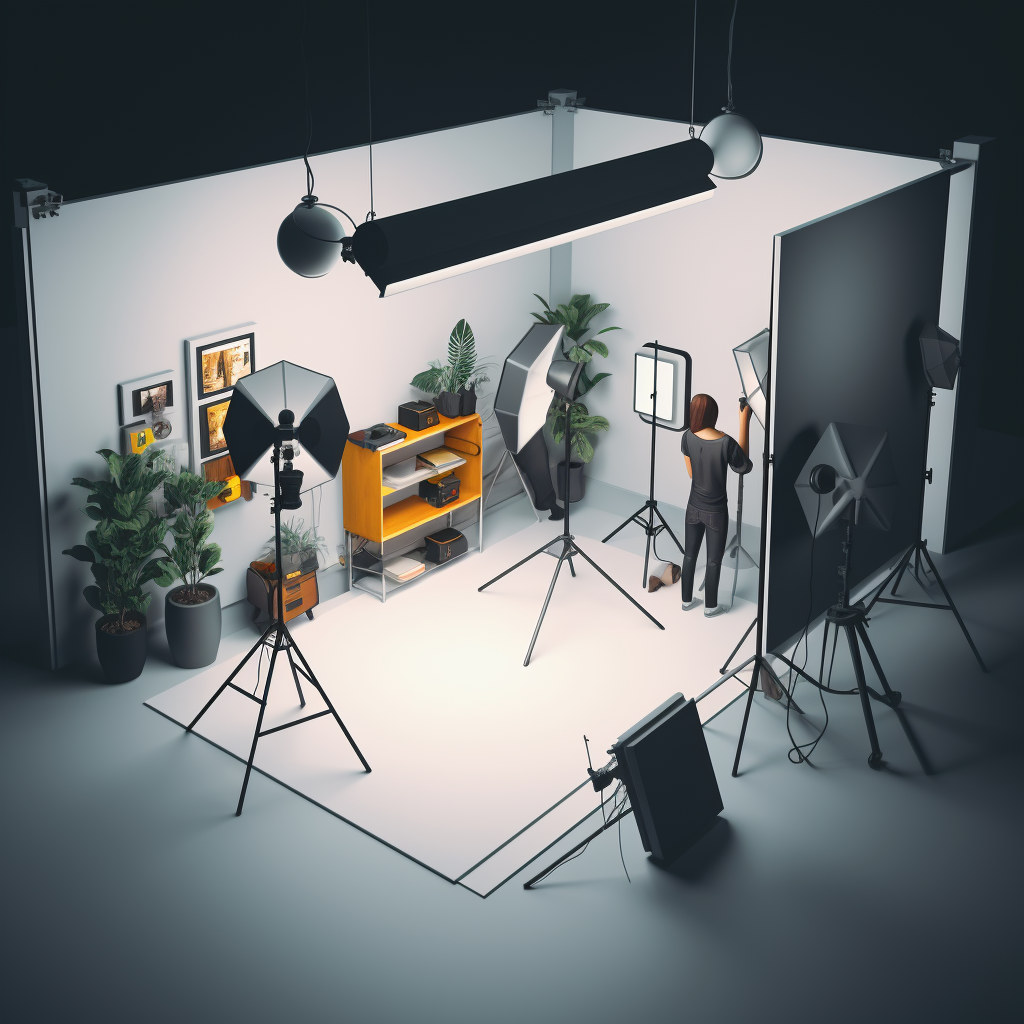
Setting the Stage for Product Photography
Greetings, aspiring photographers! Setting the stage for a fabulous product photography session is just like preparing for a great play. Everything, from your camera to the lighting, plays a vital role in creating a masterpiece. But worry not, here's your go-to guide to setting up your stage with all the essential tools and tips. Ready to dive in?
The Right Tools: A Beginners to Pro Guide
Stepping into the realm of product photography? Well, gear up because first up, we're selecting the perfect tools to help you shine. And the best part? You don't have to break the bank to start. From entry-level to pro, here are some actionable tips to get you going:
Cameras: From Smartphones to DSLRs
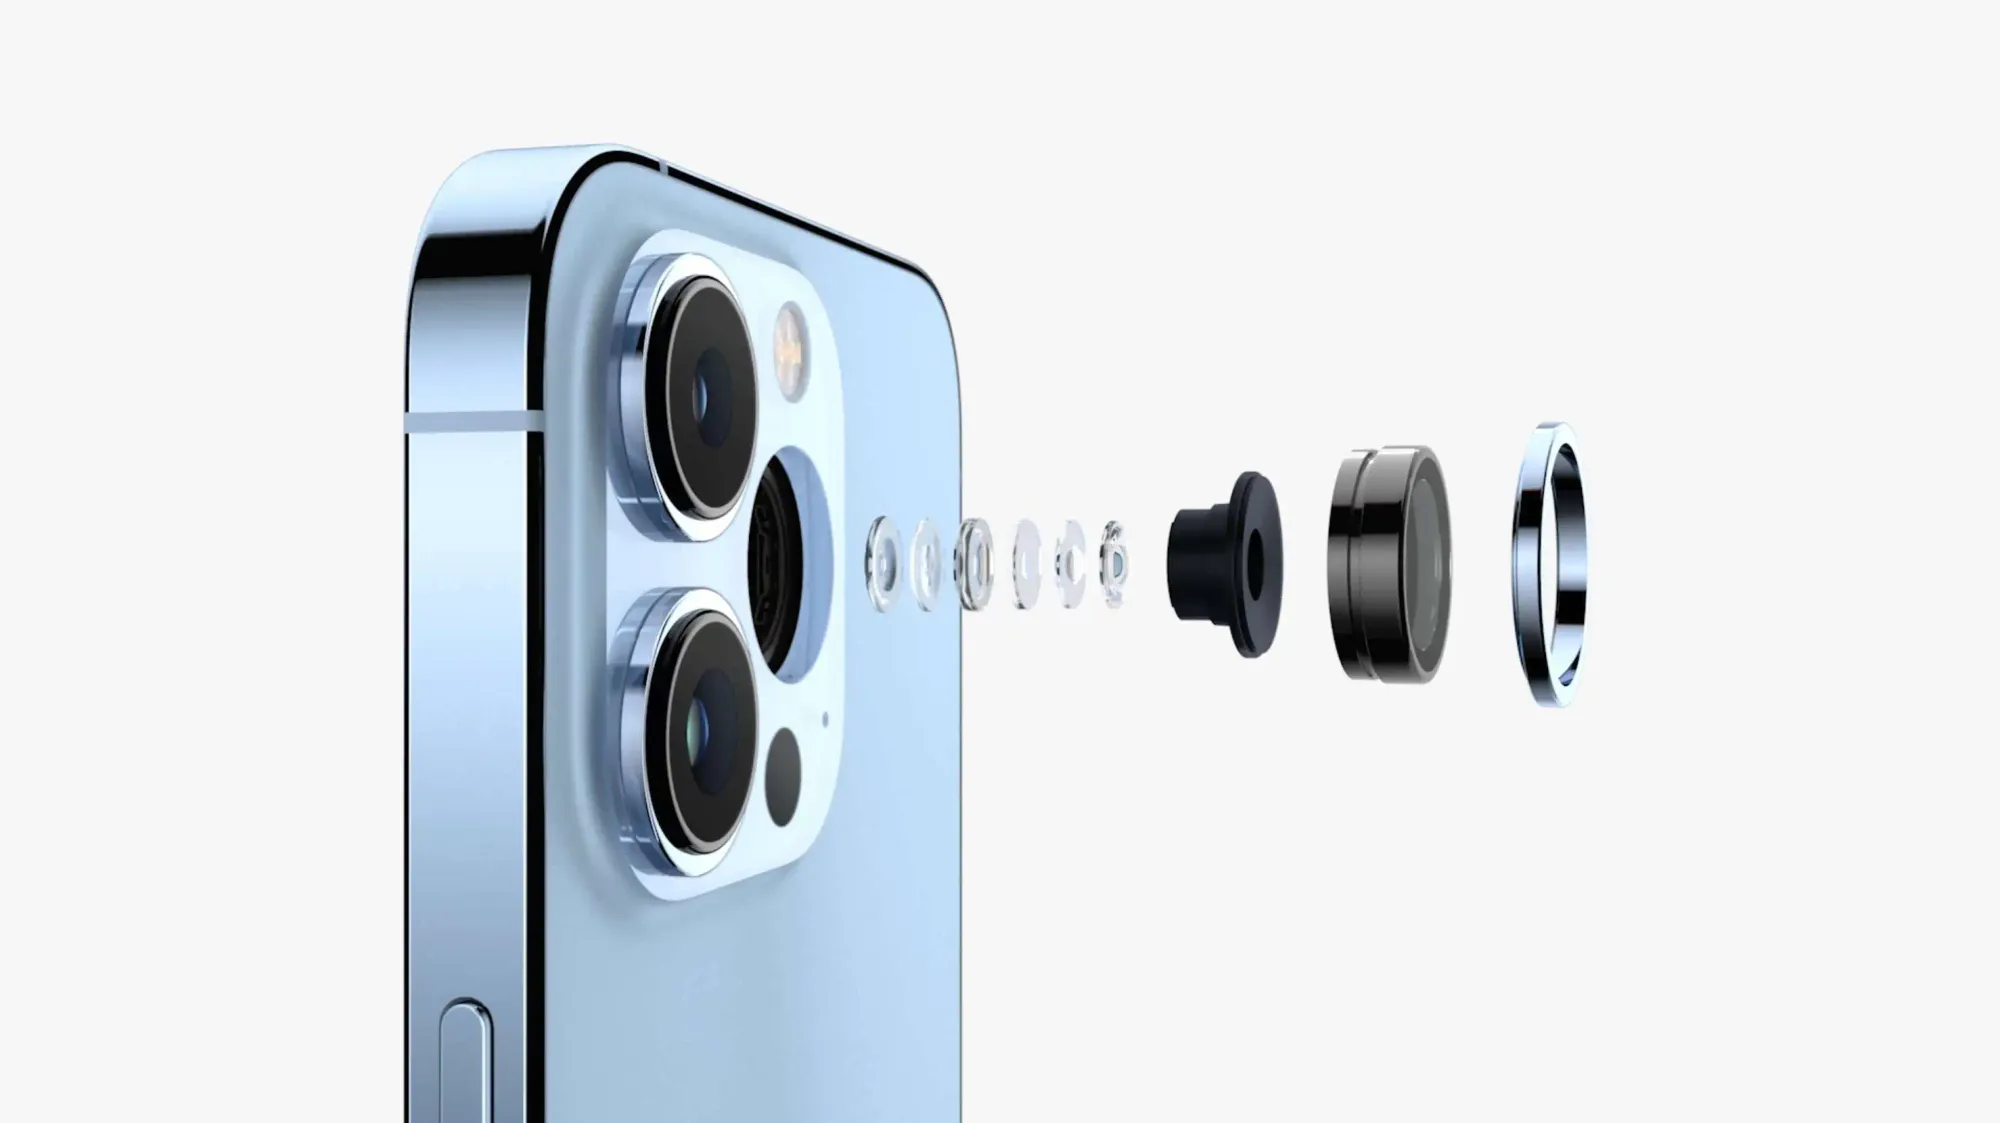
- Product Photography Tip 1: If you're starting with a smartphone, explore and use the 'Pro' mode to have better control over focus and exposure. Nowadays, most of us have an iPhone camera in our pockets and it does a bloody good job.
- Product Photography Tip 2: For DSLR users, start with a 50mm lens; it's versatile and perfect for product photography.
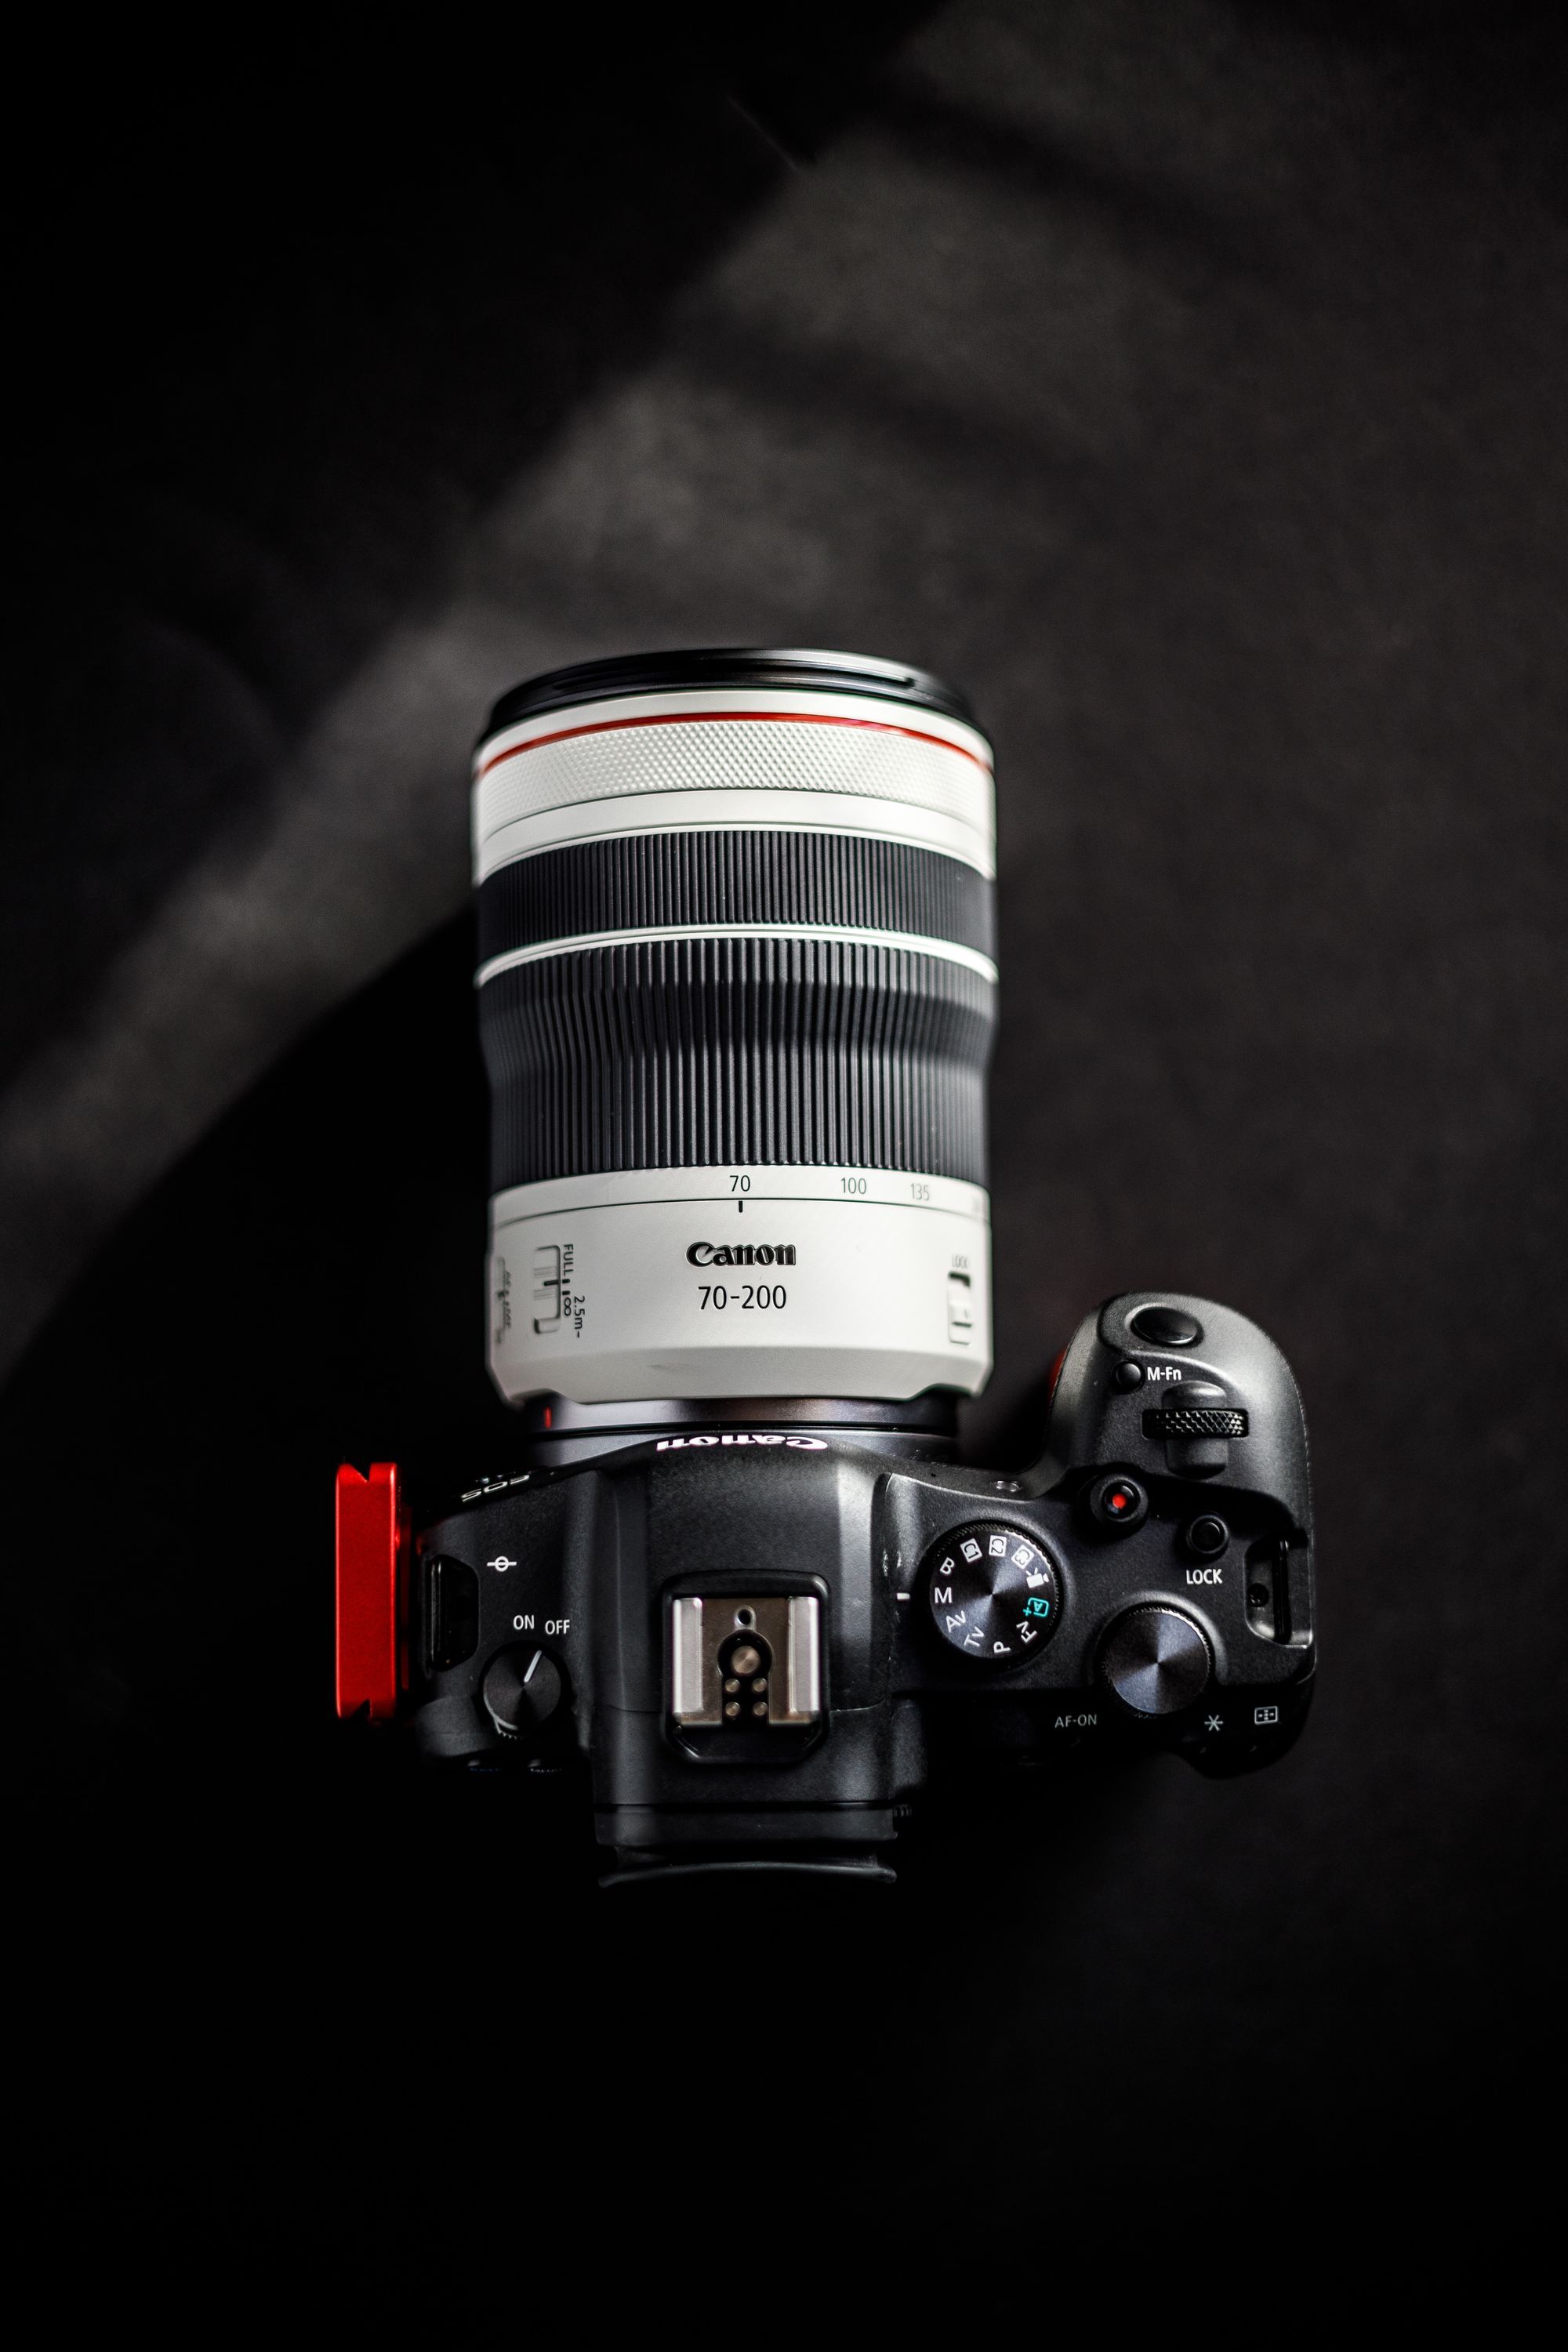
Recommendation: Invest in a camera with good megapixel count and manual settings to hone your skills further.
Tripods: Securing Your Shots
- Product Photography Tip 1: Choose a tripod with adjustable height and angles to capture varied perspectives.
- Product Photography Tip 2: Use a tripod with a bubble level to ensure your shots are perfectly aligned.
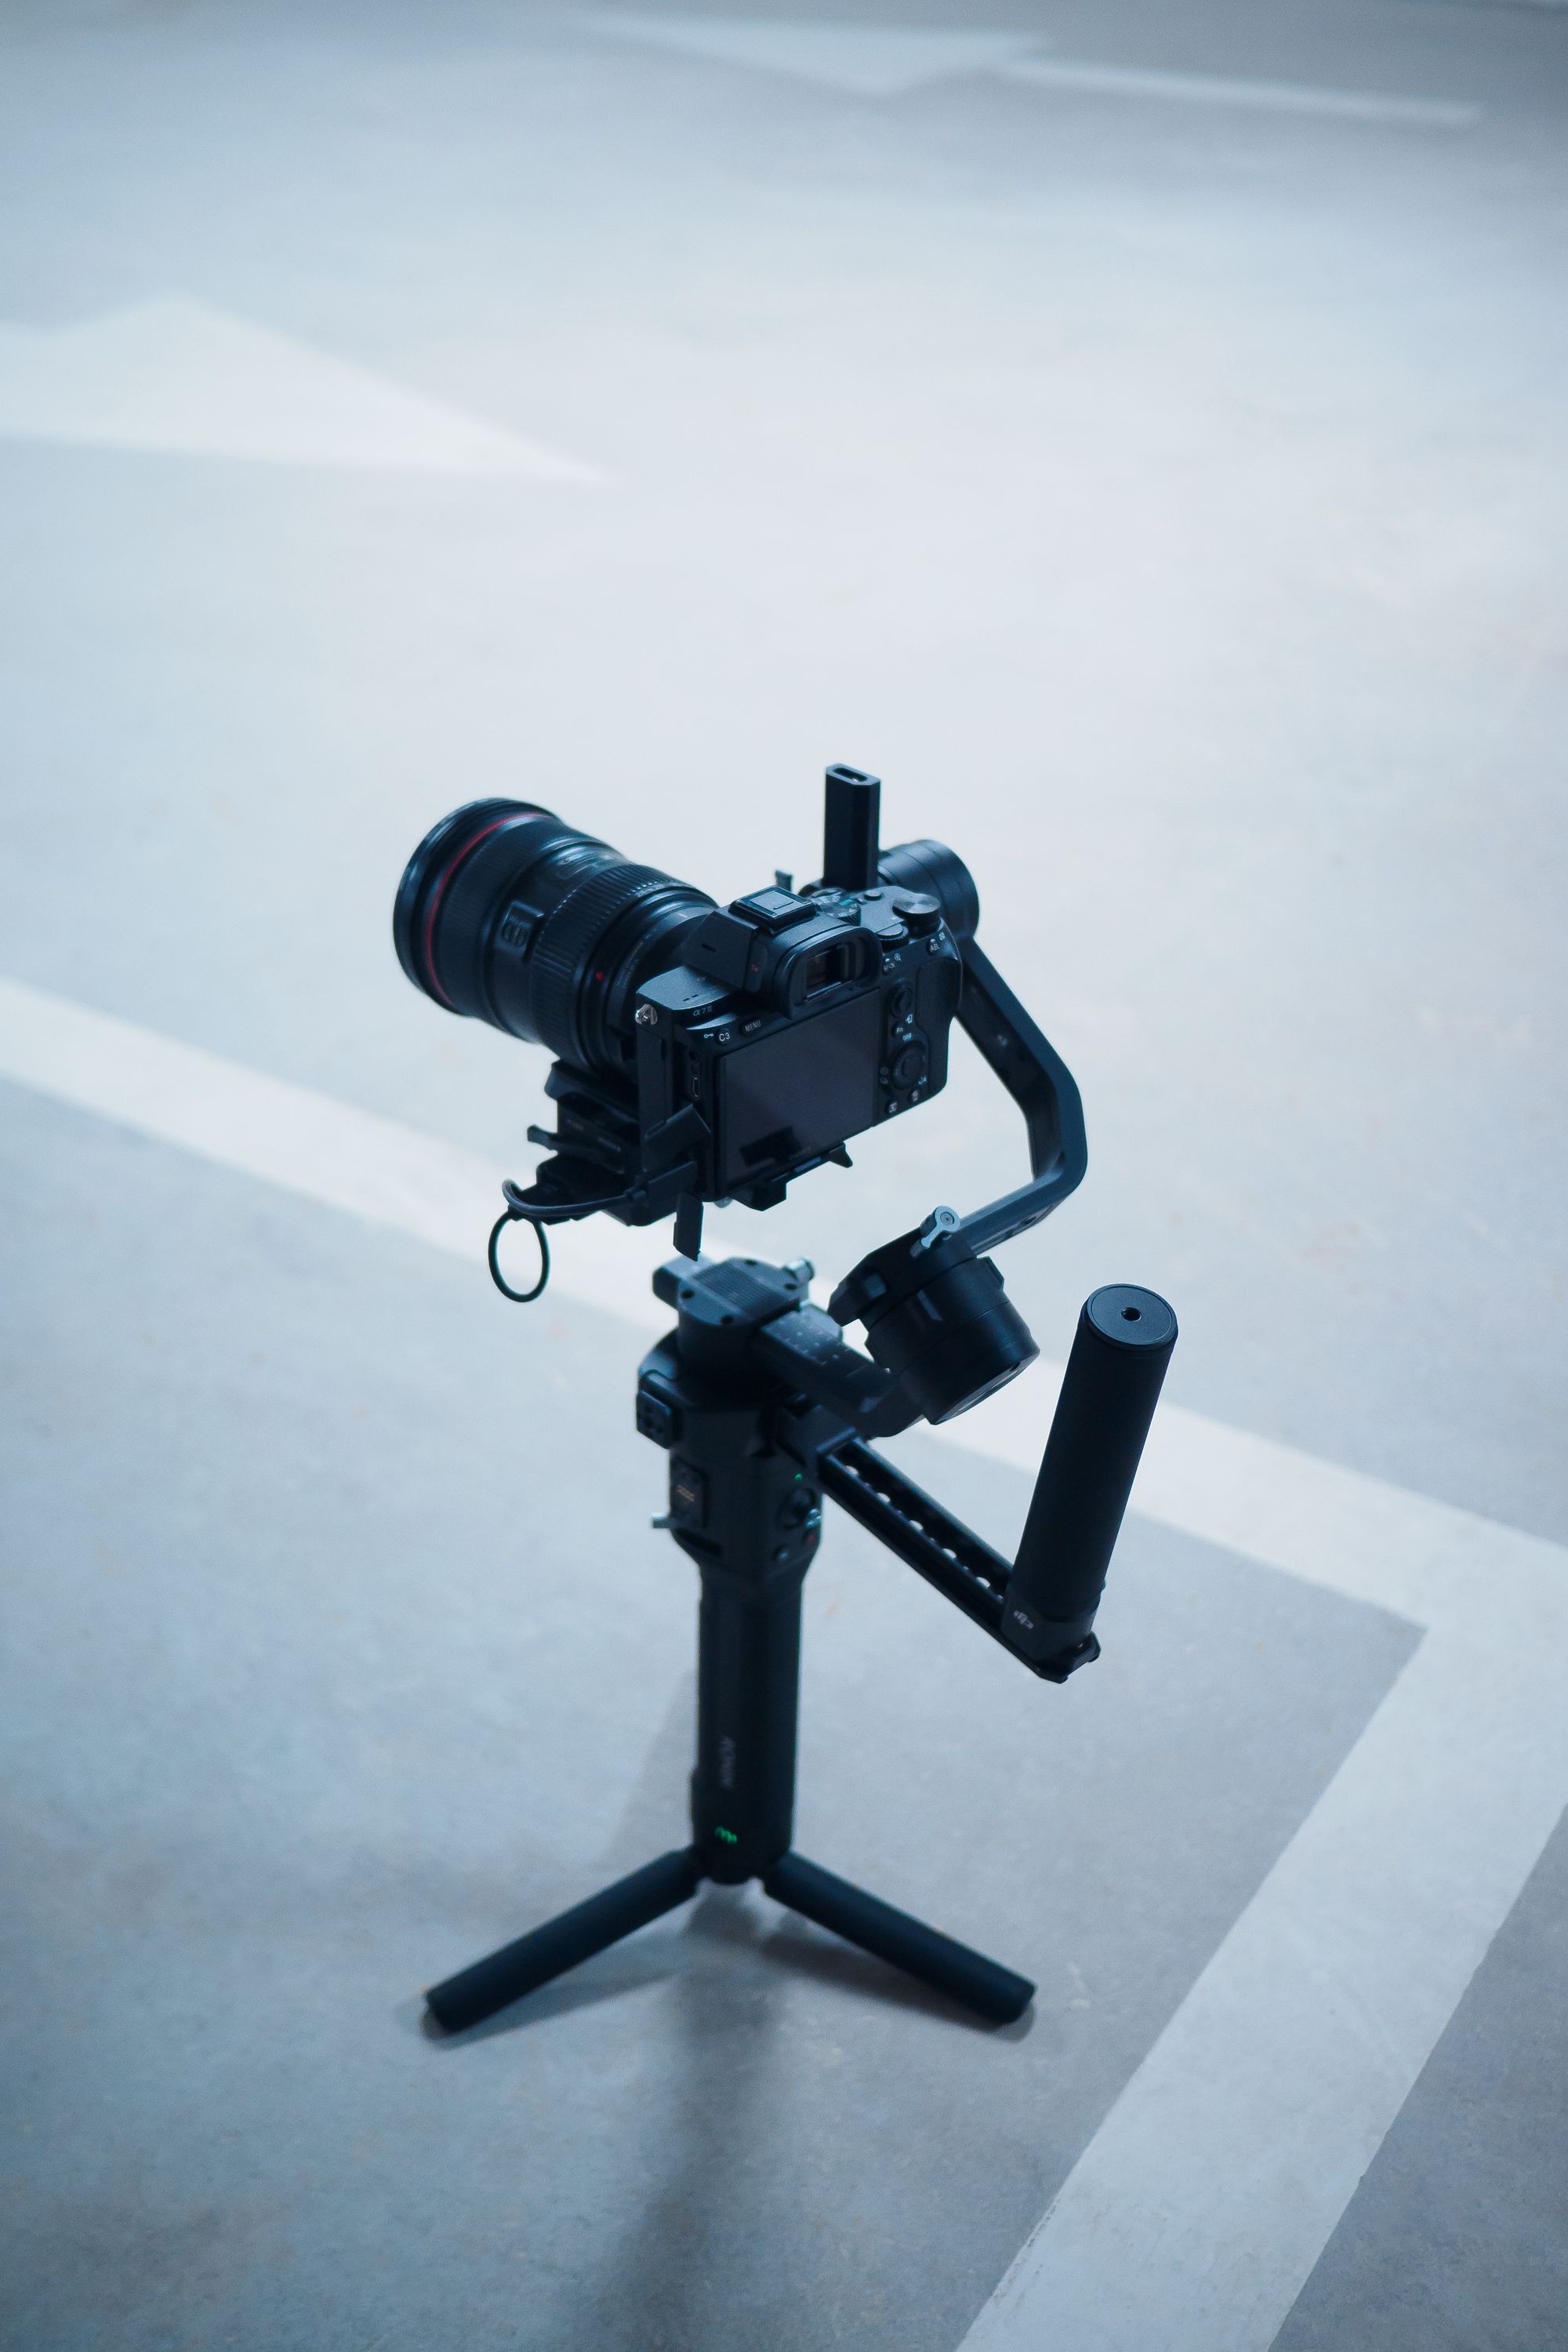
Action: Practice setting up and using a tripod quickly so it becomes second nature during shoots.
Lighting Equipment: Crafting the Ideal Setup
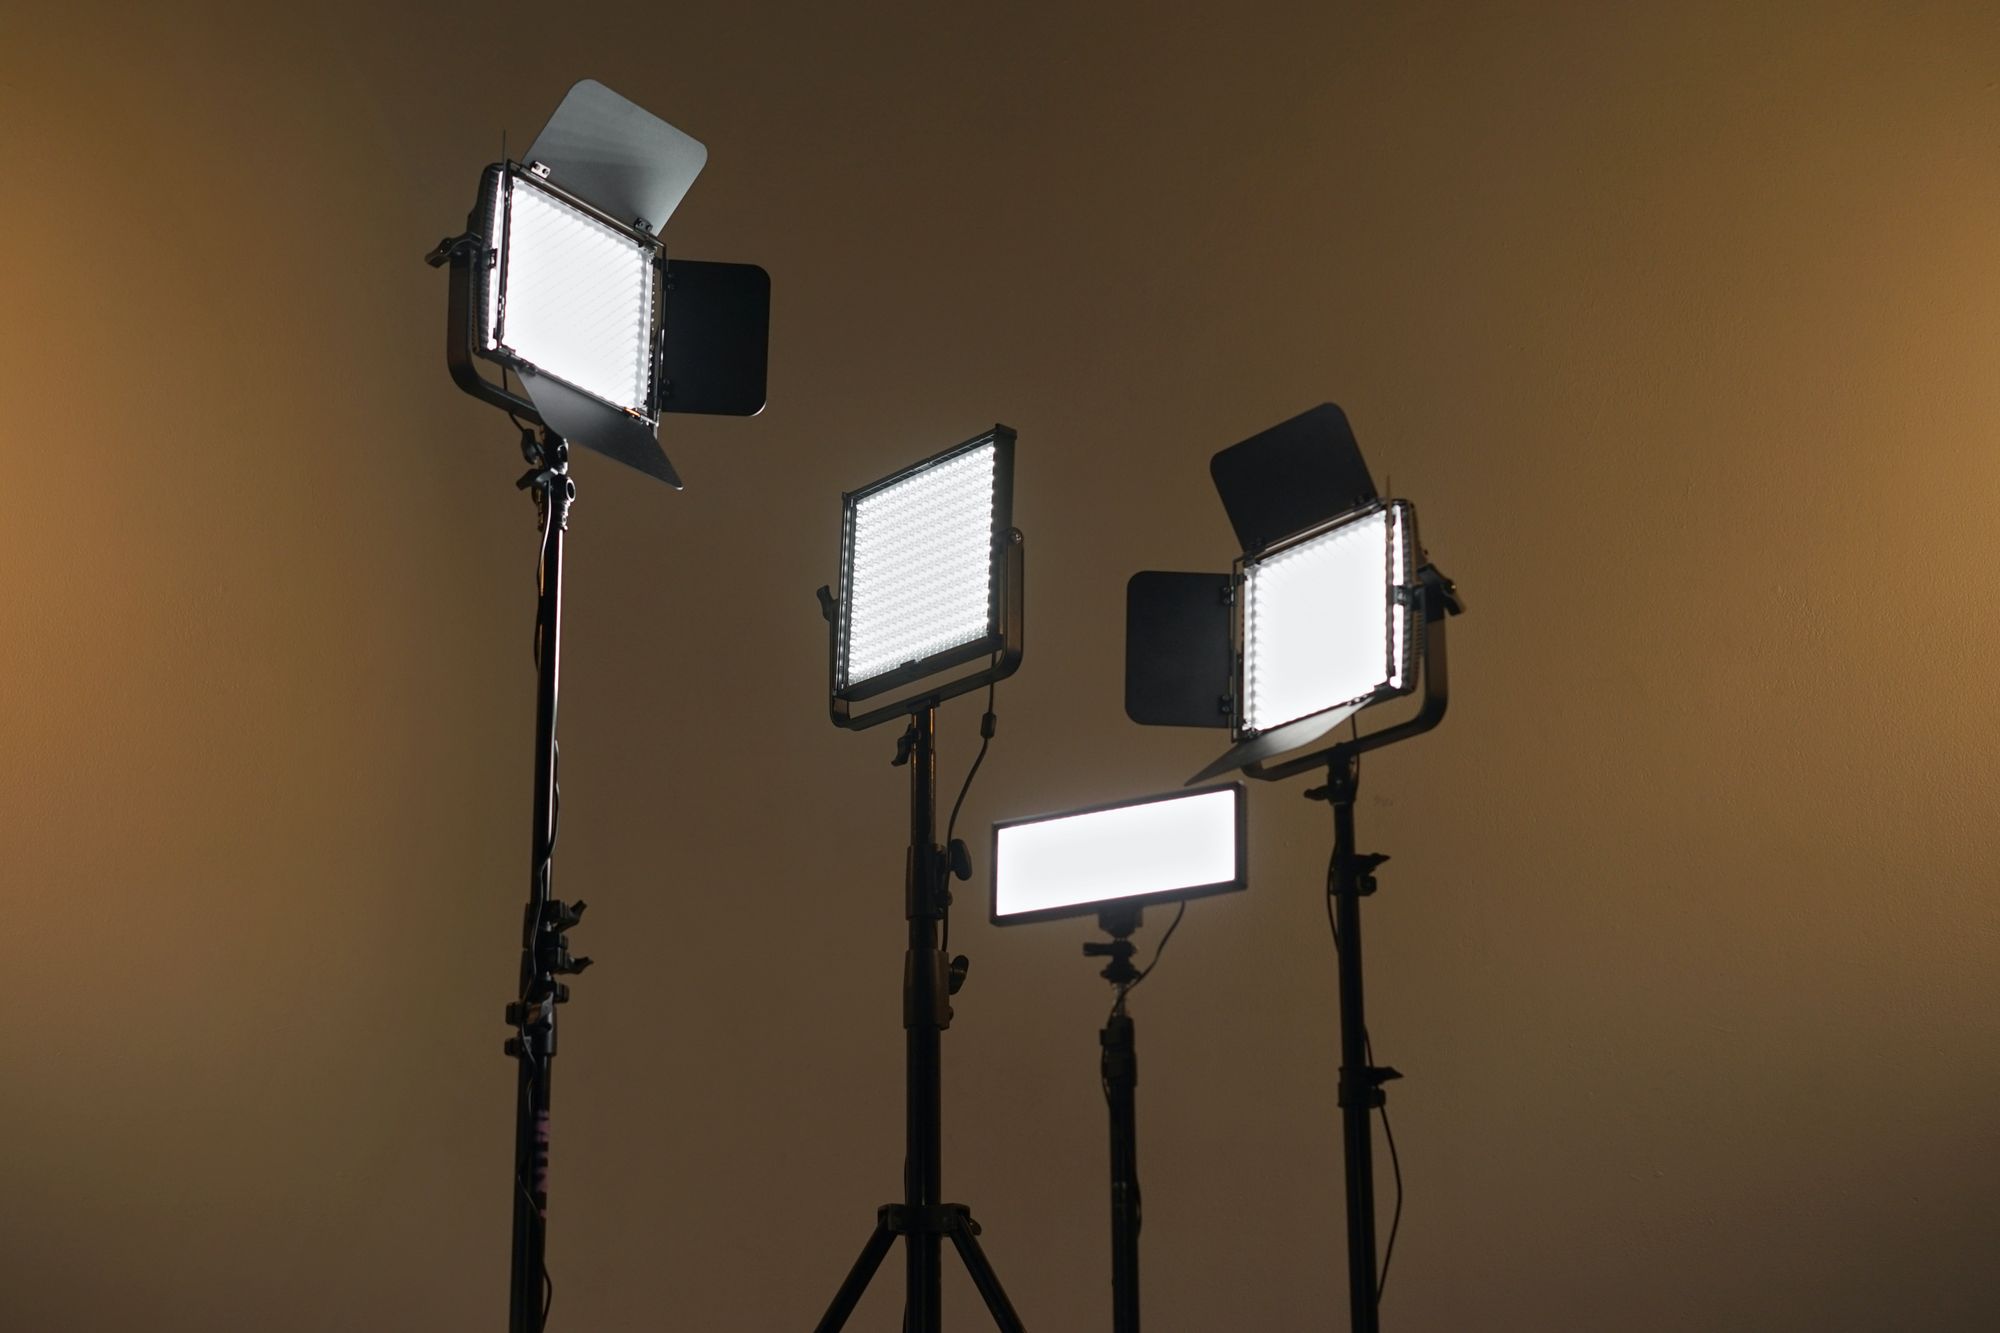
- Product Photography Tip 1: Start with a basic two-light setup; one as the key light and another as a fill light to remove harsh shadows.
- Product Photography Tip 2: Experiment with different diffusers to soften the light and create a pleasing effect on the product.
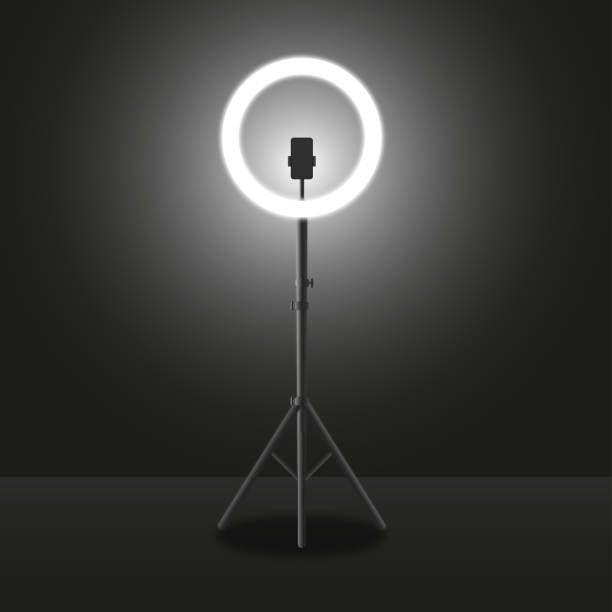
Recommendation: Invest in a ring light for even lighting, especially for small products.
Crafting Perfect Product Photography Lighting with Natural light and Artificial light
Lighting isn't just a component of product photographs; it's the soul of product photography. In fact for product photography, you only have two types of light sources to choose from: natural light and artificial light. Natural light For those who are on a budget, using natural light is the best way to go. But just because this is the cheaper option doesn't mean it's lower quality. Natural light is actually ideal if you're shooting outdoors or if you're shooting a lifestyle photo with a model.
Let's delve into how you can master this craft with some actionable steps and expert recommendations:
The Golden Hour: Making the Most of Natural Lighting

- Product Photography Tip 1: Scout for locations where you can make the most of the golden hour light; parks and open spaces are great options.
- Product Photography Tip 2: Use a white reflector to bounce the golden hour light onto your product evenly.
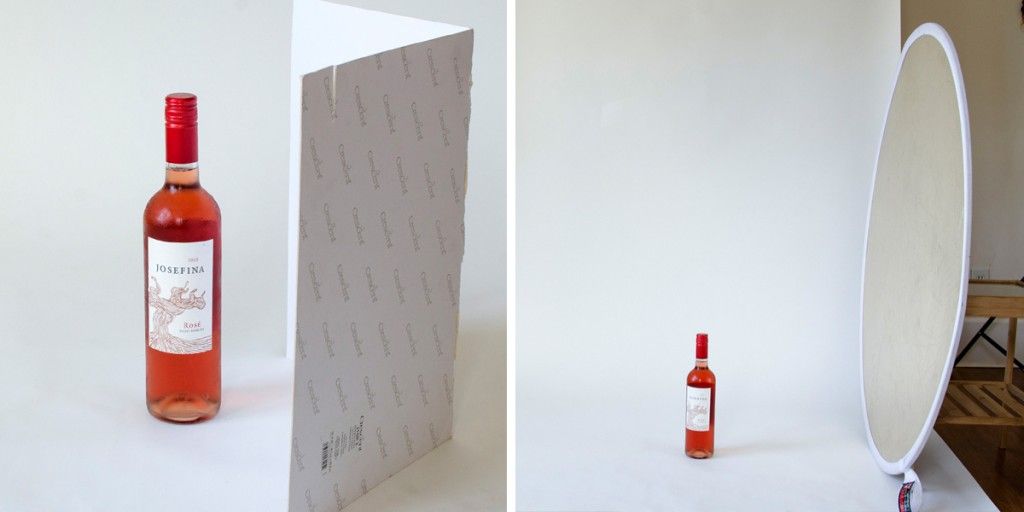
Action: Practice shooting during the golden hour regularly to understand the nuances of natural lighting.
Pictures on e-commerce websites truly shine when captured in natural light, especially if the product is generally used or exhibited outdoors. This is also true when the product is depicted alongside a person, as natural illumination tends to complement human subjects wonderfully. Although utilizing natural light for solo product shots might not be the ideal choice, it does wonders for lifestyle photographs, bathing your scene in an even and authentic glow with minimal effort from your side. "However, be wary of using direct sunlight as it can cast stark shadows, particularly on glossy or reflective items," advises Aagesen. On extremely sunny days, opt to shoot in shaded areas and employ reflectors to channel the soft natural light into your frame.
Artificial Light Mastery: Creating the Right Ambience
- Product Photography Tip 1: Learn to control the color temperature of your artificial light to match the mood you're aiming for.
- Product Photography Tip 2: Experiment with different artificial lighting angles to find what best highlights your product.
Recommendation: Take a course on lighting in photography to develop a deeper understanding and skill set.
For products mainly used inside like pots and pans, items with intricate details like artwork, or for those selling on platforms like Amazon and Google Shopping, it's often better to use artificial lighting for product photos. While the thought of using artificial lights can seem daunting at first, understanding a few essential tips and creating a straightforward studio can ease this fear. Even if it feels a bit complex, remember that artificial lighting is essential for advertisements on Amazon and Google Shopping.
Embarking on this journey of product photography is exhilarating. Remember, every great professional photographer has started as a beginner. With these actionable tips and strategies, you're well on your way to becoming a master of product photography. Don't hesitate to experiment and, most importantly, have fun crafting beautiful narratives through your lens!
A Practical Guide to Capture Mesmerizing Product Photos
Hey there, budding photographers! Are you excited to delve into the world of product photography? You've just stepped into an arena where creativity meets business, and trust us, it’s more fun than it sounds! Alright, let's delve into a few uncomplicated product photography tips and methods that will elevate you from a beginner selfie snapper to a nearly-professional business photographer.
The First Steps: Foundation of Product Photography
Before you become a maestro, you need to master the basics, right? And it starts with setting up your space aptly and placing your products in a way that they speak volumes through the lens. Let's dive in!
Setting up Your Space: Backgrounds and Tables
- Quick Tip: Remember, less is more! Choose backgrounds that complement your product without stealing the limelight.
- Actionable Advice: Experiment with different tables or surfaces; sometimes, a rustic old table gives a better vibe than a brand-new glossy one.
- Resource to Check: For inspiration, check out Pinterest for a plethora of background ideas that tickle your creativity.
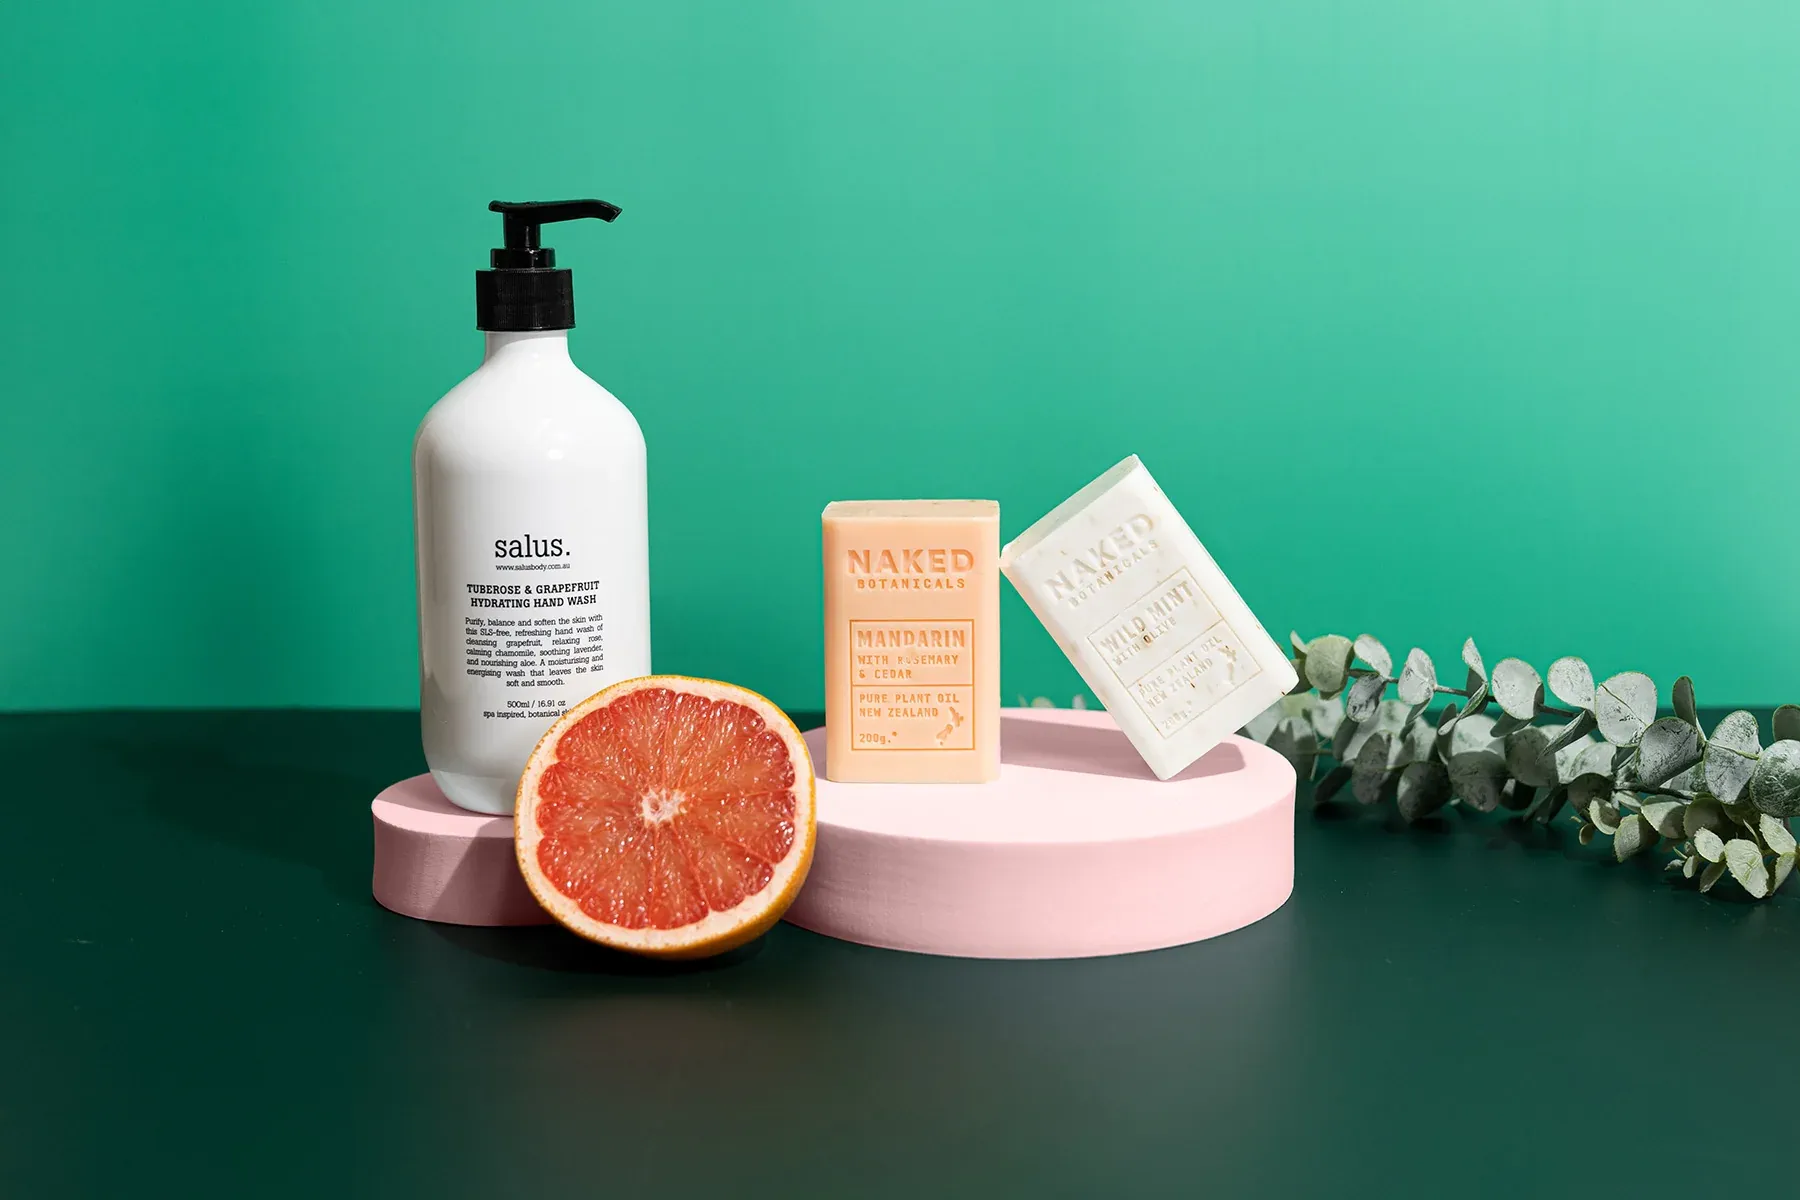
Product Placement: Showcasing Items Effectively
- Quick Tip: The hero of your shot is your product; ensure it's clean and in pristine condition.
- Actionable Advice: Use props that resonate with your product's personality; for example, a handcrafted mug looks great with a backdrop of fresh beans for a homey, fresh-brewed feel.
- Resource to Check: Visit platforms like Instagram to observe how influencers place products effectively in their frames.
Behind the Scenes: Making of a Great Product Photo
Now that we've set the stage, let's get down to the nitty-gritty of capturing that jaw-dropping photo that stops scrollers in their tracks. Ready?
Composition Techniques: Framing Your Products
- Quick Tip: Rule of thirds is your best friend! Place your product at intersecting lines for a balanced, aesthetically pleasing shot.
- Actionable Advice: Play around with different angles; sometimes a top-down view provides a fresh and exciting perspective.
- Resource to Check: YouTube has a ton of tutorials on mastering composition; we recommend channels like "The Art of Photography" for deeper insights.
Adjusting Camera Settings: Finding the Right Balance
- Quick Tip: Don't shy away from using the manual mode; it gives you more control to capture the product exactly how you envision.
- Actionable Advice: Learn about the exposure triangle (Aperture, Shutter Speed, and ISO) and how manipulating these can affect your image.
- Resource to Check: Websites like Digital Photography School offer great articles to understand camera settings better.
Stepping into product photography can feel like learning a new language, but with the right guidance and a sprinkle of patience, you'll be speaking fluently in no time. Remember, the best teacher is experience, so grab your camera and start experimenting. Happy shooting!
Advanced Product Photography Tips
Hello, visionary photographers! Are you ready to sprinkle a bit of magic onto your product photos and make them stand out like never before? Well, grab a comfy seat and a warm cup of tea, because we are about to embark on a journey beyond the basics. Here, innovation meets finesse. Get ready to add that sprinkle of stardust to your product photography setup repertoire.
Innovation in Your Shots
Let's face it, the world is your canvas, and it's time to paint it with the vibrant colors of creativity and innovation. Dive in, as we uncover the secrets to making your photos not just good, but absolutely enchanting!
Creative Angles: Adding Depth to Your Photos
- Quick Tip: Don't just stick to eye-level shots. Try different perspectives like bird's eye or worm's eye view to give a fresh angle to your products.
- Actionable Advice: Use a ladder or a low stool to shoot from various heights. Experimentation is key here!
- Resource to Check: "Understanding Composition" by Bryan Peterson is an amazing read to explore the power of angles in photography.

Props and Accessories: Enhancing the Visual Story
- Quick Tip: When choosing props, think of a story that encompasses your product. The props should add to the narrative, not distract from it.
- Actionable Advice: Keep a box of varied props that align with your brand story. This way, you can easily switch things up between shoots.
- Resource to Check: Youtube Channels like "The Slanted Lens" offer great insights into utilizing props effectively.
Advanced Editing Workshop
Alright, the shot is taken but we are not done yet. It's time to venture into the awe-inspiring world of photo editing, where your images transform from great to simply mesmerizing. Ready to work that magic?
Photo Editing Software: Tools of the Trade
- Quick Tip: Choose software that fits your skill level. Software like Adobe Photoshop offers advanced features, while tools like Canva are great for beginners.
- Actionable Advice: Dedicate time to learn your chosen software inside out. Consider online courses to upskill.
- Resource to Check: Platforms like Udemy offer a plethora of courses on different photo editing software.
Advanced Editing Techniques: Retouching to Perfection
- Quick Tip: Remember, retouching is an art. The goal is to enhance, not alter the product drastically.
- Actionable Advice: Master techniques like layer masking and frequency separation for a flawless finish.
- Resource to Check: YouTube channels such as "PHLEARN" provide tutorials that guide you through advanced editing techniques step by step.
So, fellow creators, it's time to unfold your wings and soar high in the sky of professional product photography again. With these advanced tips and techniques, your journey towards capturing mesmerizing images is just getting started. Remember, the sky is not the limit, your imagination is!
Photography Styles to Amplify Your Brand Narrative
Hey there, bright and aspiring photographers! Are you all set to sprinkle a dash of creativity and brilliance onto your brand story through the art of photography? Well, you've just stepped into the right space. Let's join hands and navigate through the mesmerizing avenues of crafting eye-catching and narrative-rich photographs. Buckle up, because here we go!
Crafting Social Media Ready Images
In this buzzing digital era, social media platforms are the new billboards. Your images should not just speak but sing melodiously in the rhythm of the platform they are displayed on. Let’s unravel the secrets behind crafting images that resonate with the social media aficionados out there.
Instagram: Adhering to the Aesthetics
- Quick Insight: Instagram loves consistency! Crafting a cohesive aesthetic can really make your brand stand tall amidst a sea of visuals.
- Take Action: Experiment with filters but maintain a consistent theme. Don’t forget to play with grids and layouts to keep your feed refreshing.
- Recommended Read: "Instagram Power" by Jason Miles is a great handbook to dig deeper into Instagram aesthetics.
Pinterest: Creating Visually Appealing Pins
- Quick Insight: Pinterest is a haven for visual discovery. Bright, high-quality images with a vertical orientation often steal the show here.
- Take Action: Incorporate text overlays to provide context to your pins. And remember, infographics are a big hit on Pinterest!
- Recommended Read: Check out the blog 'Simple Pin Media' for a treasure trove of Pinterest marketing insights.
Lifestyle and Detailed Shots
In the world of product photography, variety is the spice of life. Let’s venture into crafting images that exude realism and finesse, shall we?
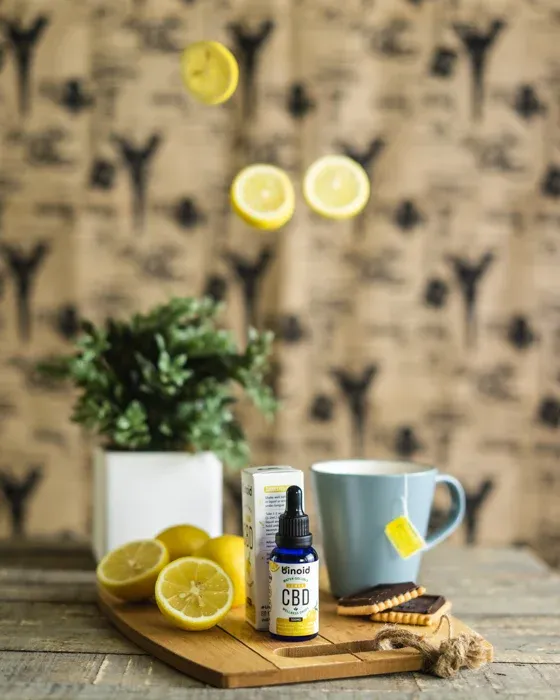
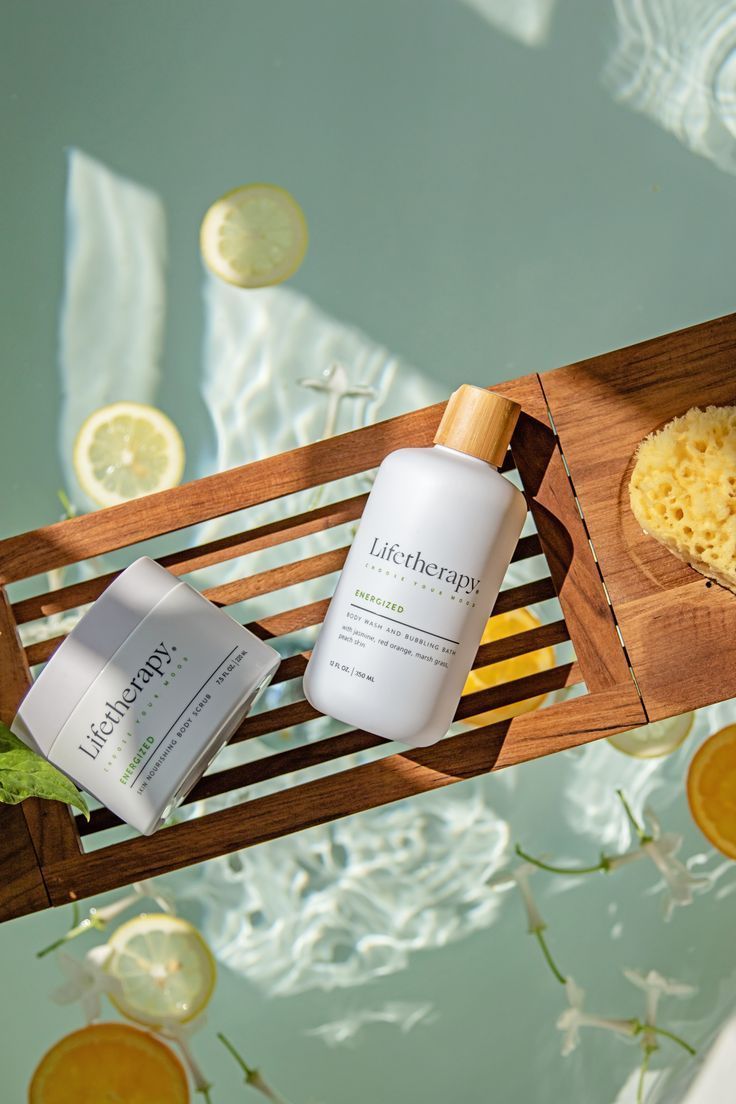
Lifestyle Shots: Creating a Real-world Connection
- Quick Insight: Lifestyle shots bridge the gap between the product and the potential buyer, offering a glimpse of the product in real-life settings.
- Take Action: Use natural settings and real people to create authentic lifestyle shots. Keep it real, keep it relatable!
- Recommended Read: "Read This If You Want to Take Great Photographs" by Henry Carroll is a must-read to master this art.
Detailed Shots: Focusing on the Fine Points
- Quick Insight: Detailed shots magnify the unique features of your product, creating a magnetic pull for the audience.
- Take Action: Utilize macro lenses to capture the intricate details and textures of your product. It's all about the details!
- Recommended Read: "Understanding Exposure" by Bryan Peterson offers great insights into capturing stunning detailed shots.
Group Photography: Cohesive Storytelling
Gather around, friends! Now, let's venture into the heartwarming world of group photography where stories unfold and narratives come alive.
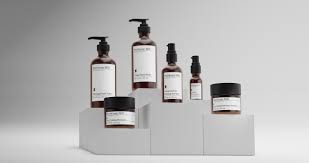
Setting up Group Shots: Creating a Balanced Composition
- Quick Insight: A well-composed group shot can narrate a cohesive story, weaving the products into a harmonious narrative.
- Take Action: Focus on symmetry and balance. Experiment with different arrangements until you find that picture-perfect setup.
- Recommended Read: Blogs by 'Digital Photography School' are fantastic resources to delve deeper into composition techniques.
Telling a Story: Building a Brand Narrative through Group Photos
- Quick Insight: Storytelling through group photos is an art that can truly elevate your brand narrative to new heights.
- Take Action: Craft a storyboard before the shoot to align the elements and create a captivating narrative.
- Recommended Read: "The Photographer's Story" by Michael Freeman offers brilliant insights into storytelling through photographs.
Stepping into the Professional Realm: Building a Career in Product Photography
Hello, future photography maestros! Ready to turn your passion into a booming career? Let's dive deep into the exciting journey of stepping into the professional realm of product photography. Fasten your seat belts as we explore the trails of creating a magnetic portfolio and setting up a profitable business strategy. 🚀
Creating a Portfolio that Stands Out
A strong portfolio is like your golden ticket in the world of product photography. It's your moment to showcase your talent and versatility to the world. Let’s figure out how to make yours stand out in the crowd.
Building a Varied Portfolio: Showcasing Your Range
Quick Insight: Showing a wide range of skills in your portfolio can really catch the eye of potential clients. Actionable Tips:
- Diversify Your Shots: Include a variety of shots: lifestyle, detailed, group photos, and more.
- Project Narration: Each project in your portfolio should tell a unique story. Narrate it beautifully.
- Recommended Read: Dive into “Portfolio Design” by Harold Linton for secrets to building a versatile portfolio.
Digital Presentation: Crafting an Online Portfolio
Quick Insight: A digital portfolio isn't just a collection of your works; it’s your online showroom. Actionable Tips:
- User-Friendly Design: Make sure your online portfolio is easy to navigate.
- SEO Optimization: Don't forget to optimize it for search engines to attract more visitors.
- Recommended Read: “Show Your Work!” by Austin Kleon is a great guide for creating an appealing online showcase.
Pricing Strategies for a Profitable Business
Stepping into the business realm requires a robust pricing strategy. Let’s unravel the mysteries of setting up a pricing strategy that not only attracts clients but also ensures your growth and profitability.
Understanding Market Rates: Setting Your Prices
Quick Insight: Knowing the market rates is crucial to setting competitive yet profitable prices. Actionable Tips:
- Research the Market: Understand the existing market rates and position yourself wisely.
- Value Your Skills: Don’t underestimate the value of your skills and expertise.
Recommended Read: “Pricing Photography: The Complete Guide to Assignment and Stock Prices” by Michal Heron and David MacTavish is your go-to book for mastering pricing strategies.
Package Offerings: Creating Value for Your Clients
Quick Insight: Offering packages can create better value and attract more clients. Actionable Tips:
- Bundle Services: Offer bundles that combine various services at a competitive price.
- Custom Packages: Allow clients to create their own packages based on their needs.
Conclusion: Setting Yourself Up for Success
Hey there, future photography rockstar! 🌟 You’ve been on an amazing journey through the vibrant world of product photography. As we draw to a close, we want to ensure you are fully geared up to start clicking those picture-perfect shots! Here's how to go about it:
Your 6-month Action Plan: A Roadmap to Mastery
Stepping into the world of professional photography can be a bit daunting, but fear not! We have crafted a 6-month action plan that will guide you step by step, turning you from a beginner into a pro. Ready to jump in? Let's go!
Month-by-Month Breakdown: Setting Achievable Goals
Quick Insight: Rome wasn't built in a day, and neither will your photography skills. It's all about small, steady steps! Actionable Tips:
- First Two Months: Focus on mastering the basics: understanding your camera, product photography lighting, and simple editing techniques.
- Next Two Months: Move onto advanced shooting techniques, working on your style and experimenting with different product setups.
- Final Two Months: Focus on building a stunning portfolio, connecting with potential clients, and setting up your business framework.
Recommended Resource: “The Photographer's Playbook: 307 Assignments and Ideas” - A wonderful guide to help structure your learning journey.
Wow, you’ve made it till the end, and now it’s time to shine! 🌟 Armed with knowledge, resources, and a hearty dose of passion, you are all set to carve out your niche in the product photography world. Remember, every click you take is a step closer to mastery. So go on, let your creative juices flow and click your way to success! Happy shooting!
Frequently asked Questions on Product Photography
What is product photography?
Product photography is a branch of commercial photography that focuses on capturing high-quality images of items to promote and sell through various platforms, including online stores and advertisements.
What do you need to do product photography?
To do product photography, you need a good camera, appropriate lighting equipment, a tripod, and various backdrops to highlight the product's features effectively.
How do I start product photography?
To start with product photography, begin by understanding your product's unique features, researching the type of imagery that resonates with your audience, and setting up a small studio space with proper lighting and backdrops.
How much do product photographers charge for photography?
Product photographers' charges can vary greatly depending on various factors such as the complexity of the shoot, location, and experience of the photographer; it typically starts from around $25 to $50 per image for beginners.
How do you take good product pictures?
To take good product pictures, ensure to use a high-quality camera, utilize proper lighting to avoid shadows, and select complementary backdrops that highlight the product's best features.
How do I make my product photography stand out?
To make your product photography stand out, focus on utilizing creative angles, engaging compositions, and incorporating elements of storytelling to create a connection with the audience.
How can I get better at product photography?
To get better at product photography, continuously learn new techniques, practice regularly, and always seek feedback to improve and refine your skills.
What are some hacks for taking great product photos?
Some hacks for taking great product photos include using natural light, experimenting with different props, and utilizing photo editing software to enhance the images post-shoot.
What not to do in product photography?
In product photography, avoid using poor lighting, cluttered backgrounds, and taking photos from only one angle; it's vital to showcase the product from various perspectives to give a comprehensive view.
How do I make my product pictures stand out?
To make your product pictures stand out, emphasize uniqueness by adding creative elements, using vibrant backdrops, and focusing on the minute details that highlight the product's quality.
What do you need to start product photography?
To start product photography, you primarily need a good quality camera, appropriate lighting equipment, a sturdy tripod, and a selection of backdrops to create a visually appealing setup.
What is the best setup for product photography?
The best setup for product photography is a well-lit studio with diffused lighting to prevent harsh shadows, a backdrop that complements the product, and a camera with adjustable settings to capture the product in its best light.
How much should I pay for product photography?
The cost for product photography can range significantly, but it's wise to allocate a budget that allows for professional-quality photos, which can start from around $25 to $50 per image for newcomers in the field.
How do you take professional pictures of products?
To take professional pictures of products, use a high-resolution camera, set up proper lighting to highlight the product features, and employ various angles and compositions to create visually appealing images.
What is required for product photography?
For product photography, it's essential to have a high-quality camera, versatile lighting setup, various backdrops, and a keen eye for detail to capture the product's best attributes.
What techniques are used in product photography?
Techniques used in product photography include utilizing proper lighting setups, experimenting with different camera angles, and employing post-production editing to enhance the product's visual appeal.
How much should I charge for product photography?
Charging for product photography depends on your skill level, the complexity of the shoot, and market rates; for beginners, it usually ranges from $25 to $50 per image.