How to get Passport Photos at Home?
No need to go to a studio for a passport photo! This article will guide you for specifications and important tips for taking a passport photo at home.

How to Take a Passport Photo at Home: Dimensions, Specifications and Important Tips
Are you thinking of capturing passport photos at home for more control over the editing process? With smartphones that have such great image quality these days, you don’t have to go to a photo studio to do it. Passport images are critical for applications. However, they often require adherence to specific guidelines to avoid rejection. We'll guide you through taking a qualified passport photo at home, covering everything from specifications, and preparation to processing.
Necessary Specifications for a Passport Photo:
Most countries of the world have strict requirements for passport photos. It’s just best to stick to those to avoid unnecessary delays, resubmissions, or hampering your travel plans. Best to ensure the following specifications when taking a passport photo at home:
- It should be a color photo.
- Should be a recent one so taken within six months.
- A clear front-facing image of your face is visible in a well-lit place.
- No smiling. Hold a neutral-looking face while clicking the picture.
- Make sure your ears are visible so hair should be tucked back.
- Plain white or off-white solid background preferably matte in texture.
- The dimensions of the image crop would be a square 2 by 2 inches. The majority of this is covered with your neck up face and head so that part is 1-1⅜ inches in the frame.
- Digital images should be in a JPEG format only, a minimum of 600 x 600 pixels, and at least 54 kilobytes.
How to take a Passport Photo at Home:
Preparations before shooting:
- Have a camera or smartphone ready, preferably with high-quality settings and a tripod for stability. If not available, clicking while holding is just fine too.
- Select a clean, white background—no objects or textures are allowed in the backdrop. Best if the backdrop isn’t glossy. It’s better to keep it matte in color.
- Ensure good lighting conditions to avoid shadows or glares on your face when taking a passport photo at home.
Taking Passport Photos:
- Maintain a natural pose and relax while facing the camera.
- Stay still and look directly into the lens for a clear, presentable photo.
- Keep yourself center-aligned.
- Make sure you have a neutral-looking expression.
Processing Passport Photos:
- Understand the strict guidelines for passport photos, including size, color, and background.
- If you do not have a white background, click the picture in front of a solid colored background and then do the following to change the background color to white:

- Go to Magic Studio.
- In the top menu, you will see an option called “Tools”. Click on that.
- Then you will see “Background Remover” option. Select that.
- This will open a page where it will ask you to “Upload Picture”
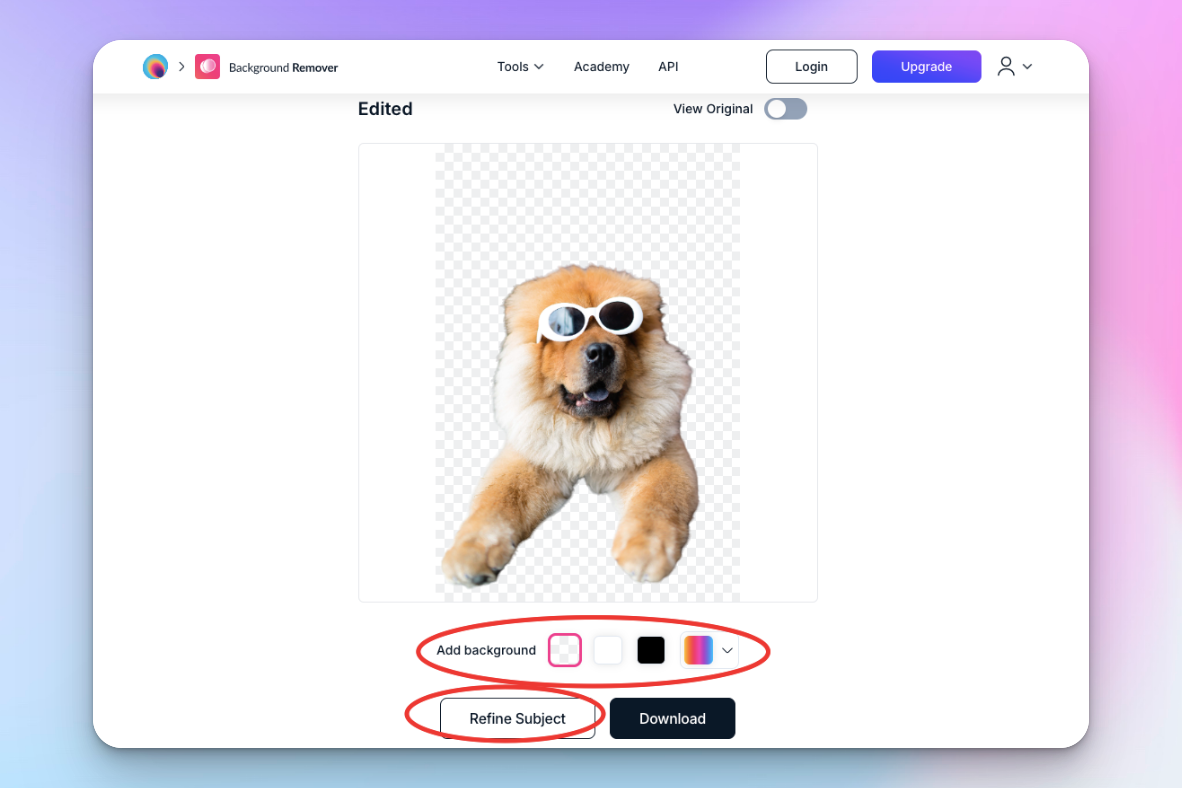
- Now, simply upload your image and just wait for 5 seconds as this tool automatically removes the background. If the subject outlines are not as refined as you prefer, there is an option to do so when you select “Refine Subject”.
- Once the background is removed, you can simply change the background color to white by selecting the white color from the color panel.
- Then select “Download”
That’s all you need to do to change the background color to white in Magic Studio. No signup or payment is needed. It can be done on a phone or a laptop. You can do other enhancements on this platform too but for passport photo’s purpose, it’s better to not over-edit to avoid rejections.
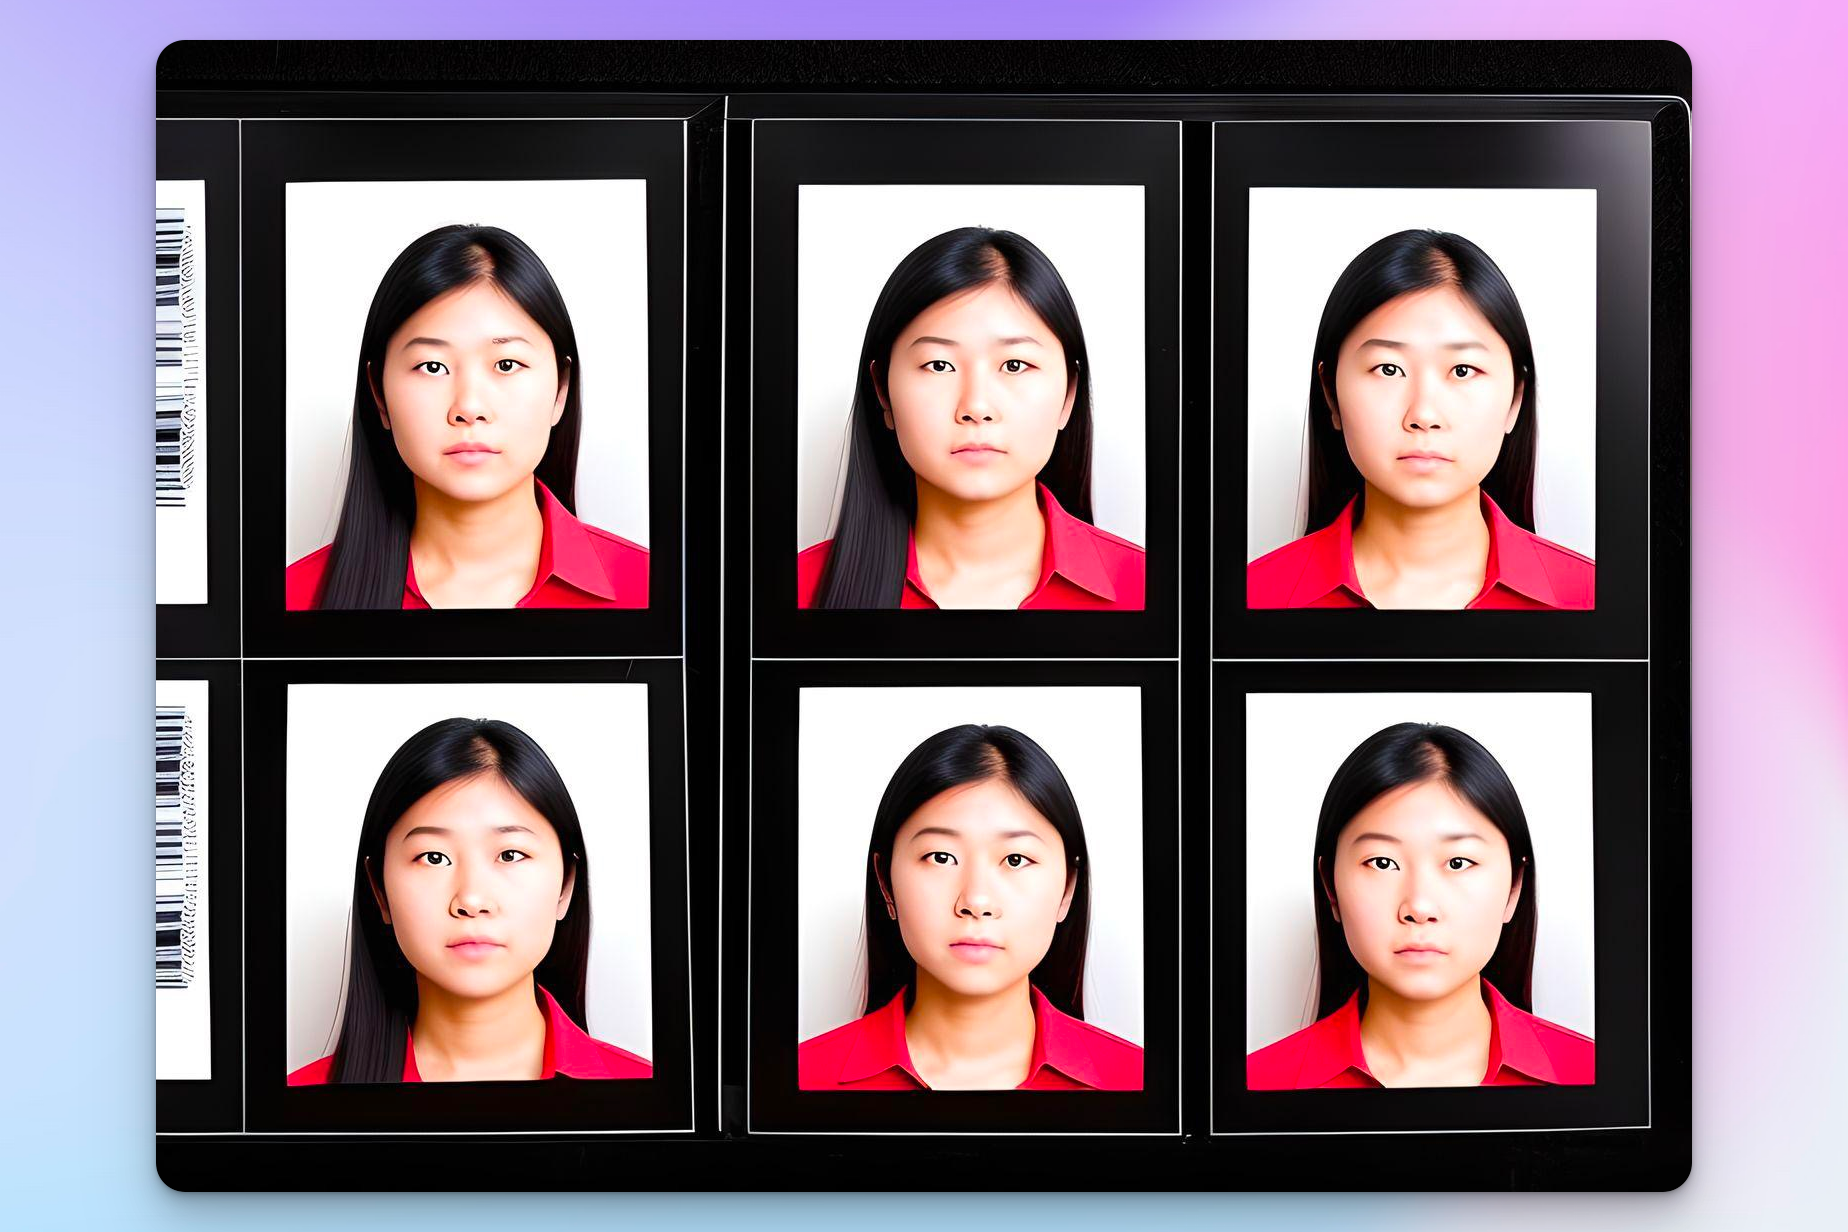
Capture Multiple Photos
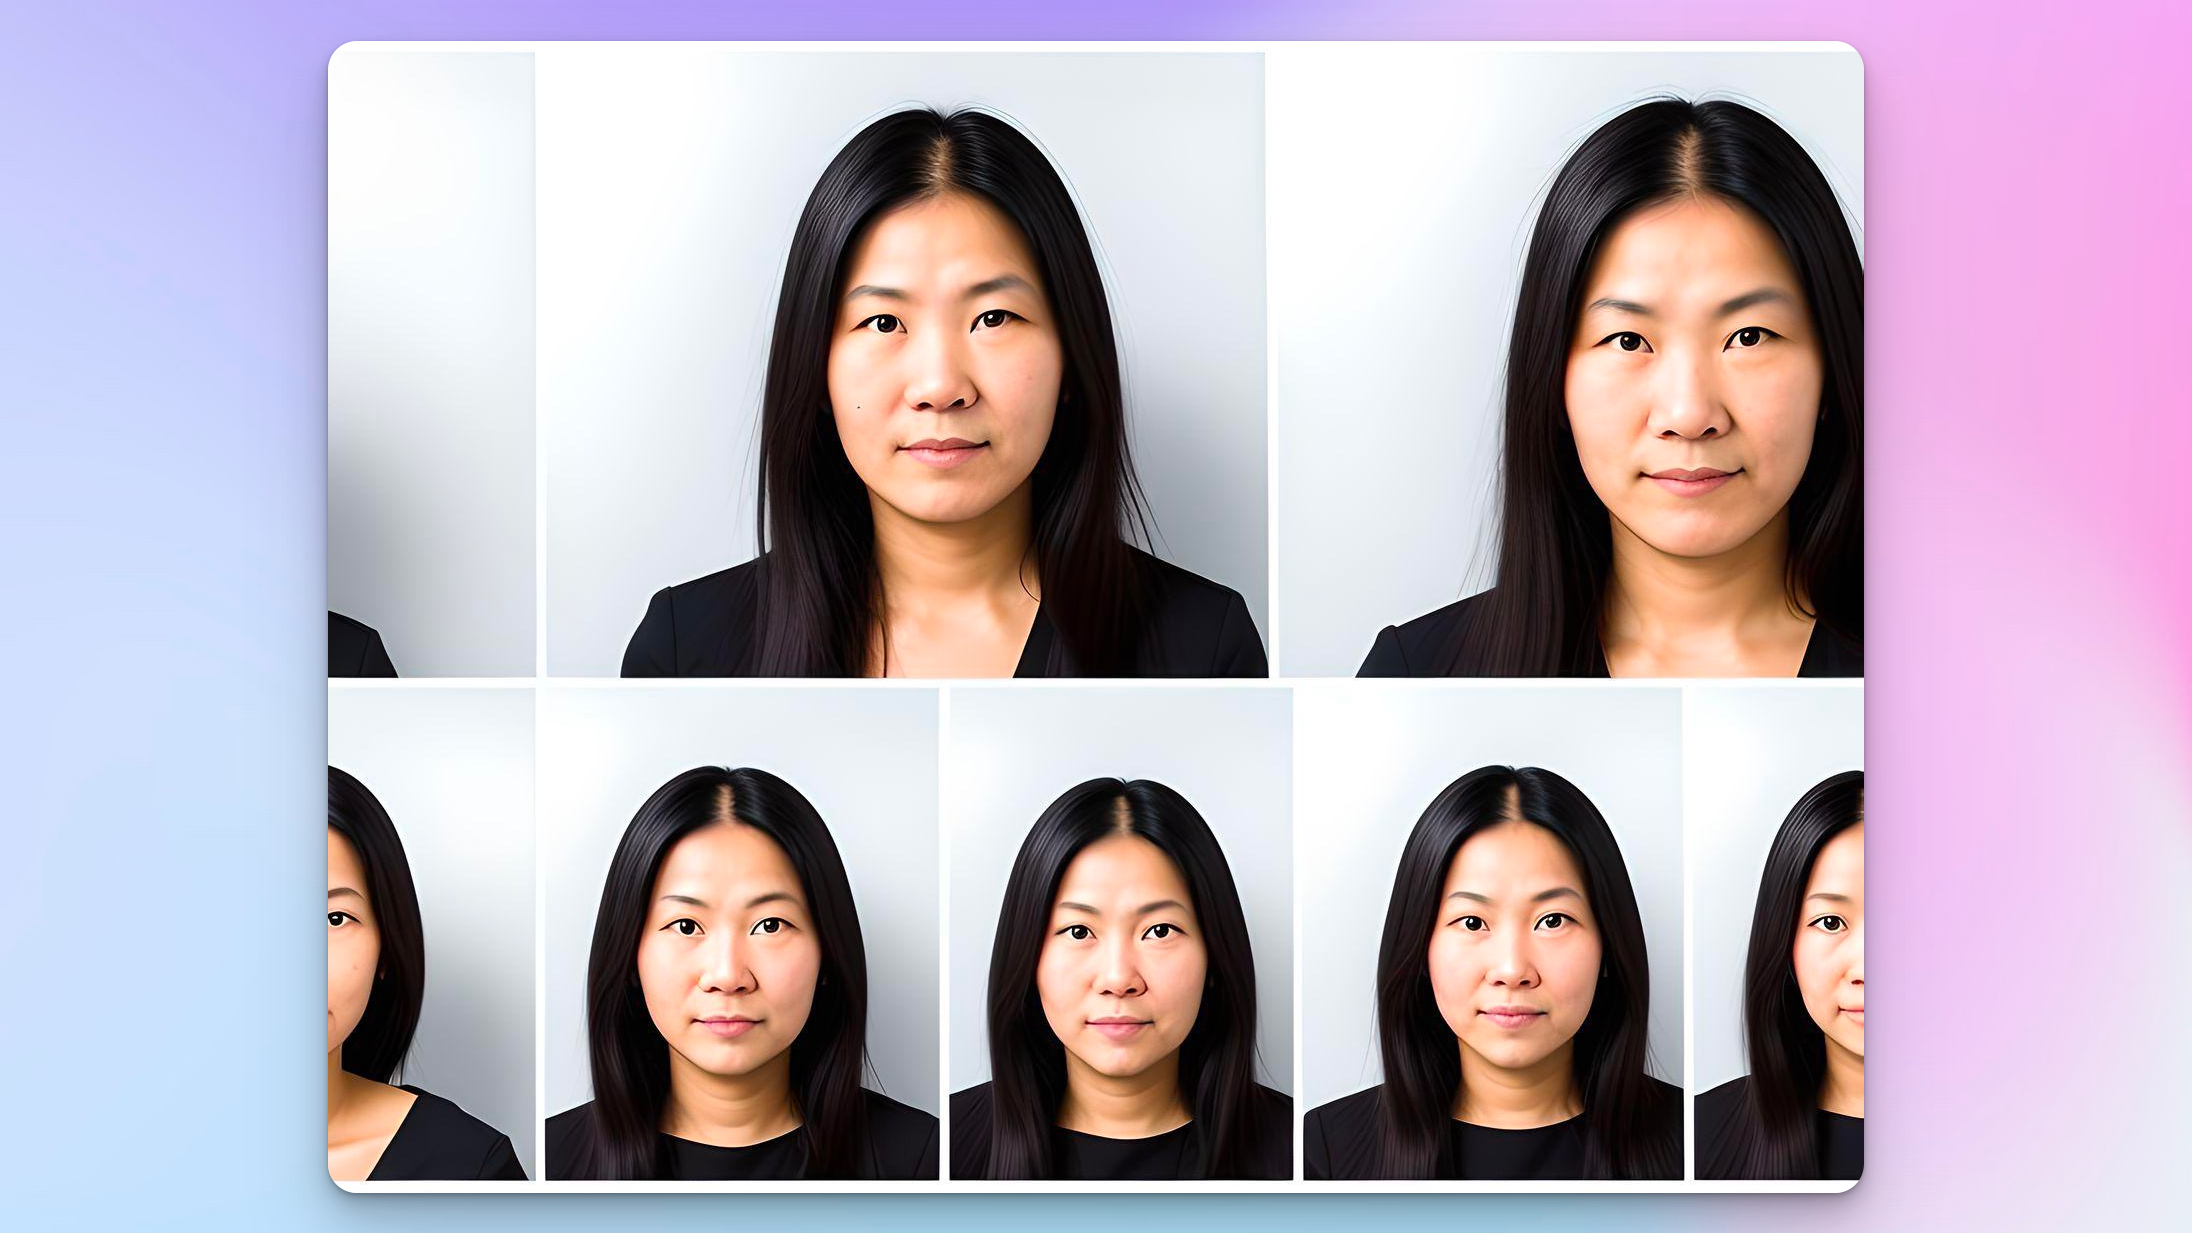
- Position yourself squarely facing the camera for a full-face view, ensuring a natural and neutral expression with eyes open and mouth closed.
- When taking a passport photo at home, take several shots, allowing for selection based on your preference. Review the photos to adjust your pose, lighting, or other details if necessary.
Resize and Print Your Passport Photo
Size your image accordingly—print it at 2 by 2 inches on matte photo paper.
Common Reasons for Passport Photo Rejection:
It’s good to learn from mistakes that generally cause a rejection so you can avoid them. A submitted photo might be turned down for:
- Over-editing or using filters
- Blurriness or graininess
- Obstruction of the face by items like glasses, hats, or hair
- Overexposure or underexposure
- Presence of shadows or other objects
- No uniforms and camouflage attire are allowed
- Inaccurate depiction of your natural skin tone
- Damage, creases, or smudges
- Non-neutral expression
- Misalignment of face and body
- Red-eye
- Proximity of the face to the camera
- Closed eyes in the photo
- While glasses, including prescription ones, should be removed, jewelry, permanent tattoos, or piercings that don’t cover your face are acceptable in passport photos
Although hats or head coverings are typically prohibited, exceptions are made for religious or medical purposes. However, the face must be fully visible, and in some cases you'll need a signed statement attesting to the purpose or submit a doctor’s note.