
How to Change the Background of a Headshot Without Photoshop
Upload your headshot to a free background remover, refine the cutout, add a solid color and download. Step by step, plus how to do it on a phone or an editor.

To change the background of a headshot without Photoshop, upload the photo to a free background remover, let it cut you out, tidy the edges if needed, add the new background color and download. Magic Studio's background remover does this in your browser with no signup. If you would rather keep the setting and just make it less distracting, use background blur instead.
Below are the steps for both tools, how to do the same on a phone or in a general photo editor, which background to pick, and how to keep the result from looking pasted on.
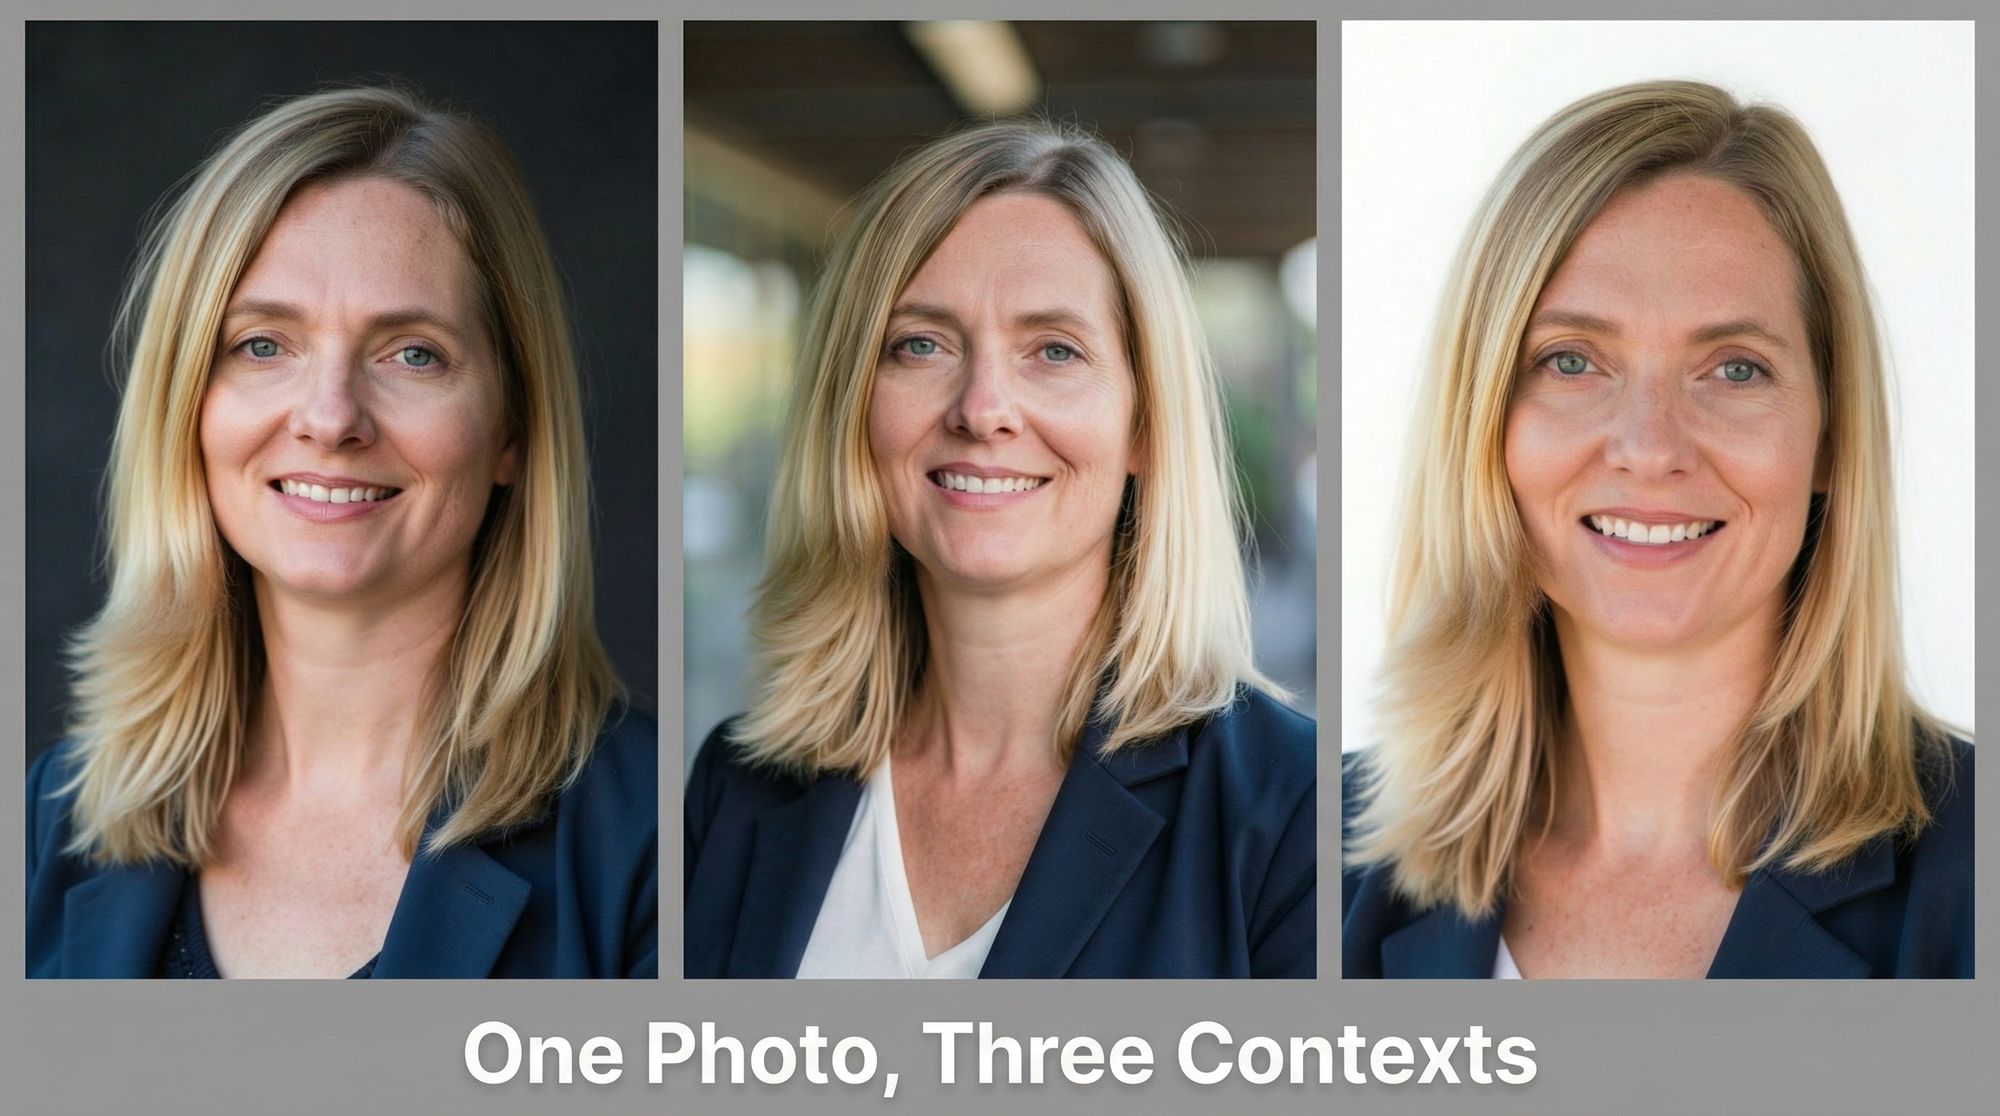
Option 1: Replace the background with a solid color
Use this when your headshot is good but the background is cluttered, dated or the wrong color. These steps follow what Magic Studio's background remover page describes.
- Upload your headshot. Open the background remover and drag the photo onto the page, or click to choose it. The page lists JPG, PNG, HEIC, WEBP and TIFF among the formats it takes, and says there is no limit on the resolution you upload.
- Check the automatic cutout. The tool selects you as the subject and shows the photo with the background already removed.
- Fix the selection if it missed something. If part of your hair or shoulder was cut off, or a piece of the background was kept, refine it with the AI-assisted selection by clicking points on the parts you want to keep. The page also describes a fine brush for manual control, an undo for the previous step, and a way to compare your edit with the original.
- Add the new background. Choose white, black or any color, using the color picker to set the exact shade. A preview shows the result before you commit.
- Download. Save the image to your computer or your phone's gallery. You can also download the cutout without a background color if you want to place it on a background of your own in another app.
The background remover is also in the Magic Studio app on the App Store and Google Play. For the size a print or a website image needs, see our guide to headshot dimensions.
Option 2: Blur the background you already have
Use this when the setting is fine (an office, a street, a garden) but it is too sharp and pulls attention from your face.
- Upload the photo to background blur, by dragging it in or clicking to choose it.
- Check the selection. The tool picks out you as the subject and blurs the rest automatically.
- Refine the subject if needed, with the AI-assisted selection or a fine brush.
- Adjust the blur. The page's advice: use a lower blur level when the background was close to you, and a higher one when it was far away. More blur makes you stand out more from the background.
- Download the result.
A light blur usually looks more believable than a heavy one, especially around hair. For more on this, see how to blur the background of a photo you have already taken.
Option 3: Change the background on your phone
Most phones can now do a basic version of this without extra software:
- Lift the subject. Many phone photo apps let you press and hold on a person to separate them from the background, then copy or share the cutout. You can paste that cutout onto a plain color in any app that supports layers or stickers. On an iPhone, our guide to removing a background on iPhone or Mac walks through it.
- Use portrait mode for blur. If the photo was taken in portrait mode, you can often adjust or increase the background blur afterward in the phone's photo editor. See how to blur the background of a picture on iPhone.
- Use the Magic Studio app. The background remover is also available in the Magic Studio app on iOS and Android, with the same upload, refine, add background and download steps.
Option 4: Change it in a general photo editor
If you already use a desktop editor with layers, the process is the same in almost all of them:
- Open the headshot and duplicate the photo layer so you keep the original.
- Use the editor's subject or object selection to select yourself.
- Refine the edge of the selection around your hair, ears and shoulders. This is the step that decides whether the result looks real.
- Turn the selection into a mask, so the old background is hidden rather than deleted.
- Add a new layer underneath with your new color, gradient or photo.
- Match the two: adjust brightness and color so your face and the new background look lit by the same light, and add a soft shadow if the background is a wall.
- Export at the size you need.
This gives the most control but takes the most time. Fine hair is where manual masks usually go wrong.
Option 5: Get new headshots with the background built in
If your current photo is low quality, badly lit or years out of date, changing the background will not fix it. Headshots by Magic Studio creates 50 headshots across 5 looks from about ten of your own photos, ready in 15 minutes. You see them before paying, and packs start at $49: a starter pack of 3, all 50 for $59, or all 50 in print-ready high resolution for $69. Because the backgrounds are generated with the photo, the light on your face and the background match from the start.
Which background to choose
| Background | Best for | Common mistake |
|---|---|---|
| Solid white | Corporate directories, press, ID-style uses | Too bright, so it looks harsh or clinical |
| Neutral gray | LinkedIn and almost any role | A shade so dark it merges with dark hair |
| Navy or soft blue | Finance, consulting, healthcare | A saturated blue that looks like a stock photo |
| Soft gradient | Modern brands, team pages | Loud colors like neon green or deep purple |
| Blurred office | Remote and hybrid workers, corporate roles | Too little blur, so details stay readable |
| Brand color | Entrepreneurs and creatives | A color that clashes with your skin tone or outfit |
By field: realtors often suit bright, modern interiors; doctors suit clean, light backgrounds; finance and consulting suit neutral gray or a subtle office; creatives can use brand colors and gradients. Our full guide to headshot backgrounds covers every color, ten background ideas, and how to match the background to your skin tone and clothes. If you are leaning toward white, read why a white background works first.
How to make the new background look real
- Match the light. A face lit by soft indoor light looks wrong in front of a bright, sunny scene. Plain colors and gradients are the most forgiving, because they have no light direction to contradict you.
- Check the edges at full size. Zoom in on your hair, ears, glasses and shoulders. A thin outline of the old background, or hair cut off in a hard line, is the giveaway of a quick edit. Refine the selection until it is gone.
- Do not over-blur. A blur that is equally strong right up to the edge of your hair looks artificial. A lighter blur looks more like a real camera lens.
- Keep it professional. Sunsets, neon walls and abstract art distract on LinkedIn and company sites. Solid colors, soft gradients and blurred offices age better.
- Use the same background everywhere. One background across LinkedIn, your resume and your company bio makes you easier to recognize. For teams, agree on one or two backgrounds so the team page looks like a set.
Common questions
How do I change the background of a headshot without Photoshop?
Use a free online background remover. Upload the headshot, let the tool cut you out automatically, refine the selection around your hair if needed, choose a new background color and download. Magic Studio's background remover does this in the browser without signing up, and also lets you download the cutout with no background so you can place it on one of your own.
Can I change a headshot background for free?
Yes. Magic Studio's background remover and background blur are free to use, with no signup.
How do I add a background to a headshot?
Remove the existing background first, then place a new one behind you. In Magic Studio's background remover you can add white, black or any color with a color picker. To use a photo or gradient instead, download the cutout without a background and layer it over your chosen background in any editor that supports layers.
How do I change the background of a photo on my phone?
Many phone photo apps let you press and hold on a person to lift them out of the background, then paste the cutout onto a new color. You can also adjust the blur on photos taken in portrait mode. Magic Studio's background remover is available in the Magic Studio app on iOS and Android.
What is the best background color to change my headshot to?
A mid-toned neutral such as gray, navy or a soft blue suits most professional headshots, because it keeps attention on your face and works on LinkedIn, company sites and resumes. Darker neutrals suit finance and law, lighter blues suit healthcare, and brand colors or gradients suit creative work.
Why does my edited headshot look fake?
Usually because the edges are rough, the blur is too strong, or the light on your face does not match the new background. Refine the selection around your hair and shoulders at full size, use a lighter blur, and choose a plain color or gradient, which has no light direction to clash with your face.